

In this article, I’ll show you how I build a big storage rack, which holds twenty-seven boxes. It’s made completely out of steel and even though it was quite a lot of work it was a great way for me to practice welding and improving my skills. I mean, to finish this, i laid almost 300 welds.
If you want to build it yourself, you can download the build plan here. It includes a short instruction and all necessary measurements.
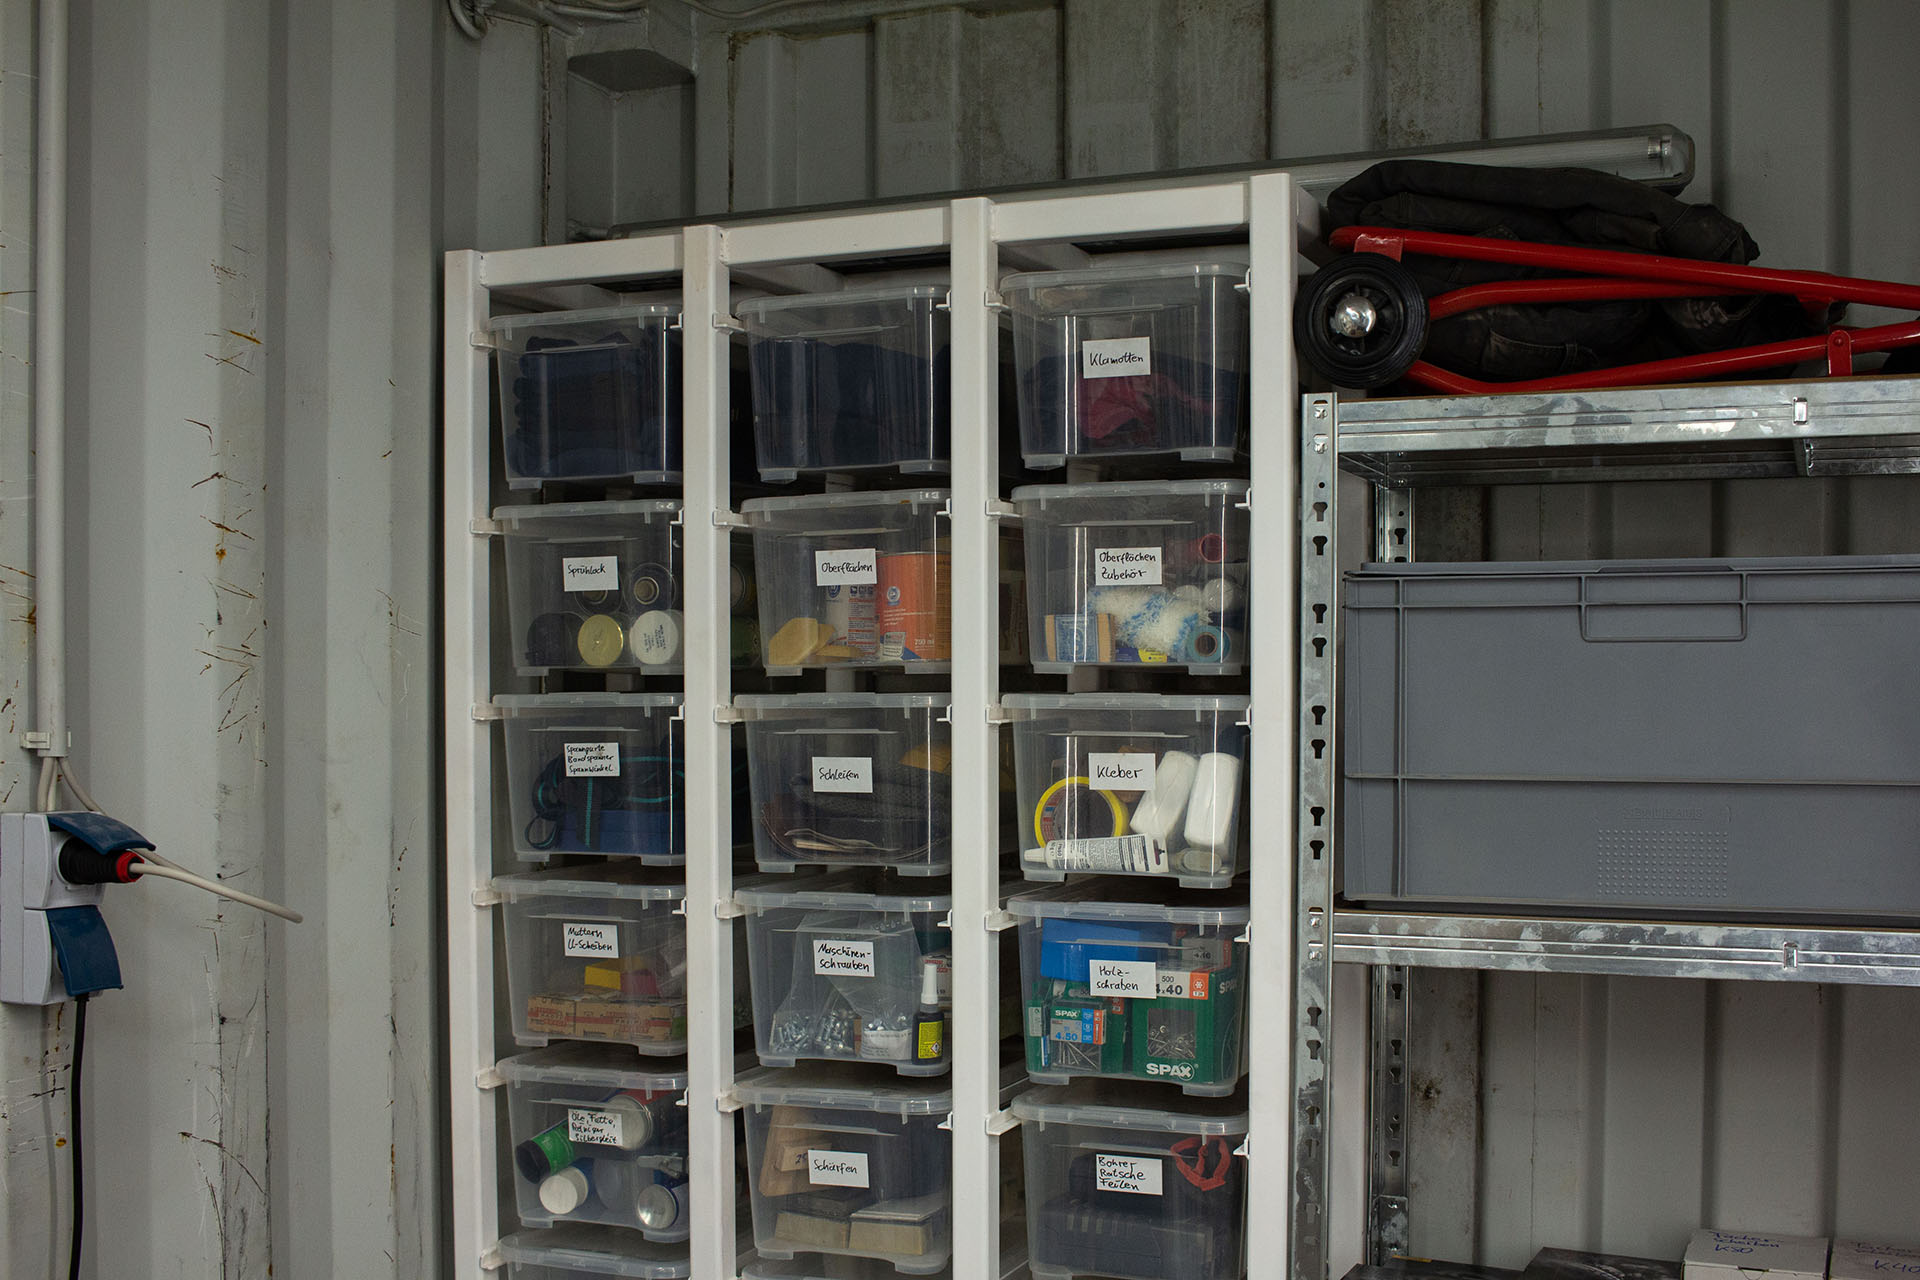
Most of my shop stuff is stored and organized in clear boxes. They are cheap, relatively sturdy and I can get them at my local hardware store. I store my life in them. You can get similar ones at Ikea. But I need a more efficient way of storing them than stacking them onto each other in this cheap shelf. A couple of years ago, Laura Kampf made a storage system for similar, but smaller sized boxes. So I’m going to use her idea and make a bigger version.
First step was to design the storage rack in SolidWorks. I’ve you want to know more about this step, I’ll have an article where I make a walkthrough of my CAD Model very soon. With everything planned out i could start working.
After cutting all the parts to size, I could start with the 4 frames that make up the sides. It was easier to first tack weld the two short sides to one long side, check for squareness, then attach the second long side, again with tack welds. Checked again that the whole side frame is still square and then did the full welds. I alternated the corners after each seam, so I didn’t get too much heat in one place. This helped to keep the frames square and relatively flat.
I used L profiles as rails for the boxes. It is crucial, that the distance between the rails is the same throughout. So I made a simple jig out of 18 mm plywood to help me with this. Here are some bullet points about this jig:
- 18 mm plywood from scrap bin: sturdy and easy for me to work with
- Made it on the table saw, so I know the important sides are parallel
- Width of the side frames
- Height from top side of lower rail to the bottom side of top rail
- Made a recess on the bottom side, so the jig fits over the shoulder of the lower rail
- Clamp the next rail to last already welded rail, so it’s completely parallel
- Adjust the next rail and then keep everything in place with clamps
- Most important feature: Notched the top corners to get access to all welding spots, while everything is clamped in place
- Could alternate the corners to spread the heat
- Especially alternate between the top and bottom side of the rail, so it stays flat against the side frame
So next was to bring the sides together, again going on step after another. I positioned the connection piece on one side, held it in place with magnets and tack welded it. I offset the connection piece a little bit to the inside, so i didn’t lay new welds on top of the existing ones from the side frame. Did this for all 4 connection pieces. Put the corresponding side frame on the workbench and placed the frame I just welded on top of it, so I don’t have to weld overhead. As the frames weren’t 100 percent flat and the connection pieces probably no perfect 90 degree, I did one corner after another. The first corner was positioned just with magnets and tack welded in place. This acted kind of like an anchor and I could force the opposite connection piece in place with clamps and a hammer and tack weld it as well. Did this for all 4 connection pieces, before laying down the full welds on all sides.
Build 2 towers consisting of 2 sides each and then I connected the 2 towers the same way as I did with the side frames. Only difference here, the towers were heavier and once connected the whole rack would be even heavier and as I didn’t want to get crushed by it, I worked on the floor and not my workbench. I also welded 6 nuts to the bottom, so I could use hex head screws to level the whole rack.
After that, it was finally time to paint everything. I knocked down the sharp corners of the L profiles and grinded all the welds flat that I could reach with my angle grinder. I applied one coat of metal primer, 2 coats of white paint and as the final layer one clear coat.


One thought on “Welded Storage Rack to organize your shop”
Comments are closed.