I needed a headphone mount / stand / bracket, aka some place to get it off my desk, when not in use. So, I designed and printed one. The models on Thingiverse where either to clamp it to the desk or have it standing on it, but I wanted mine to be screwed to the underside of the shelf above my desk. That’s why I designed one myself in SolidWorks and in this article I show you, how I did it.
If you’re not interested in the CAD Process and just want to print the headphone holder, you can download the .stl file here:
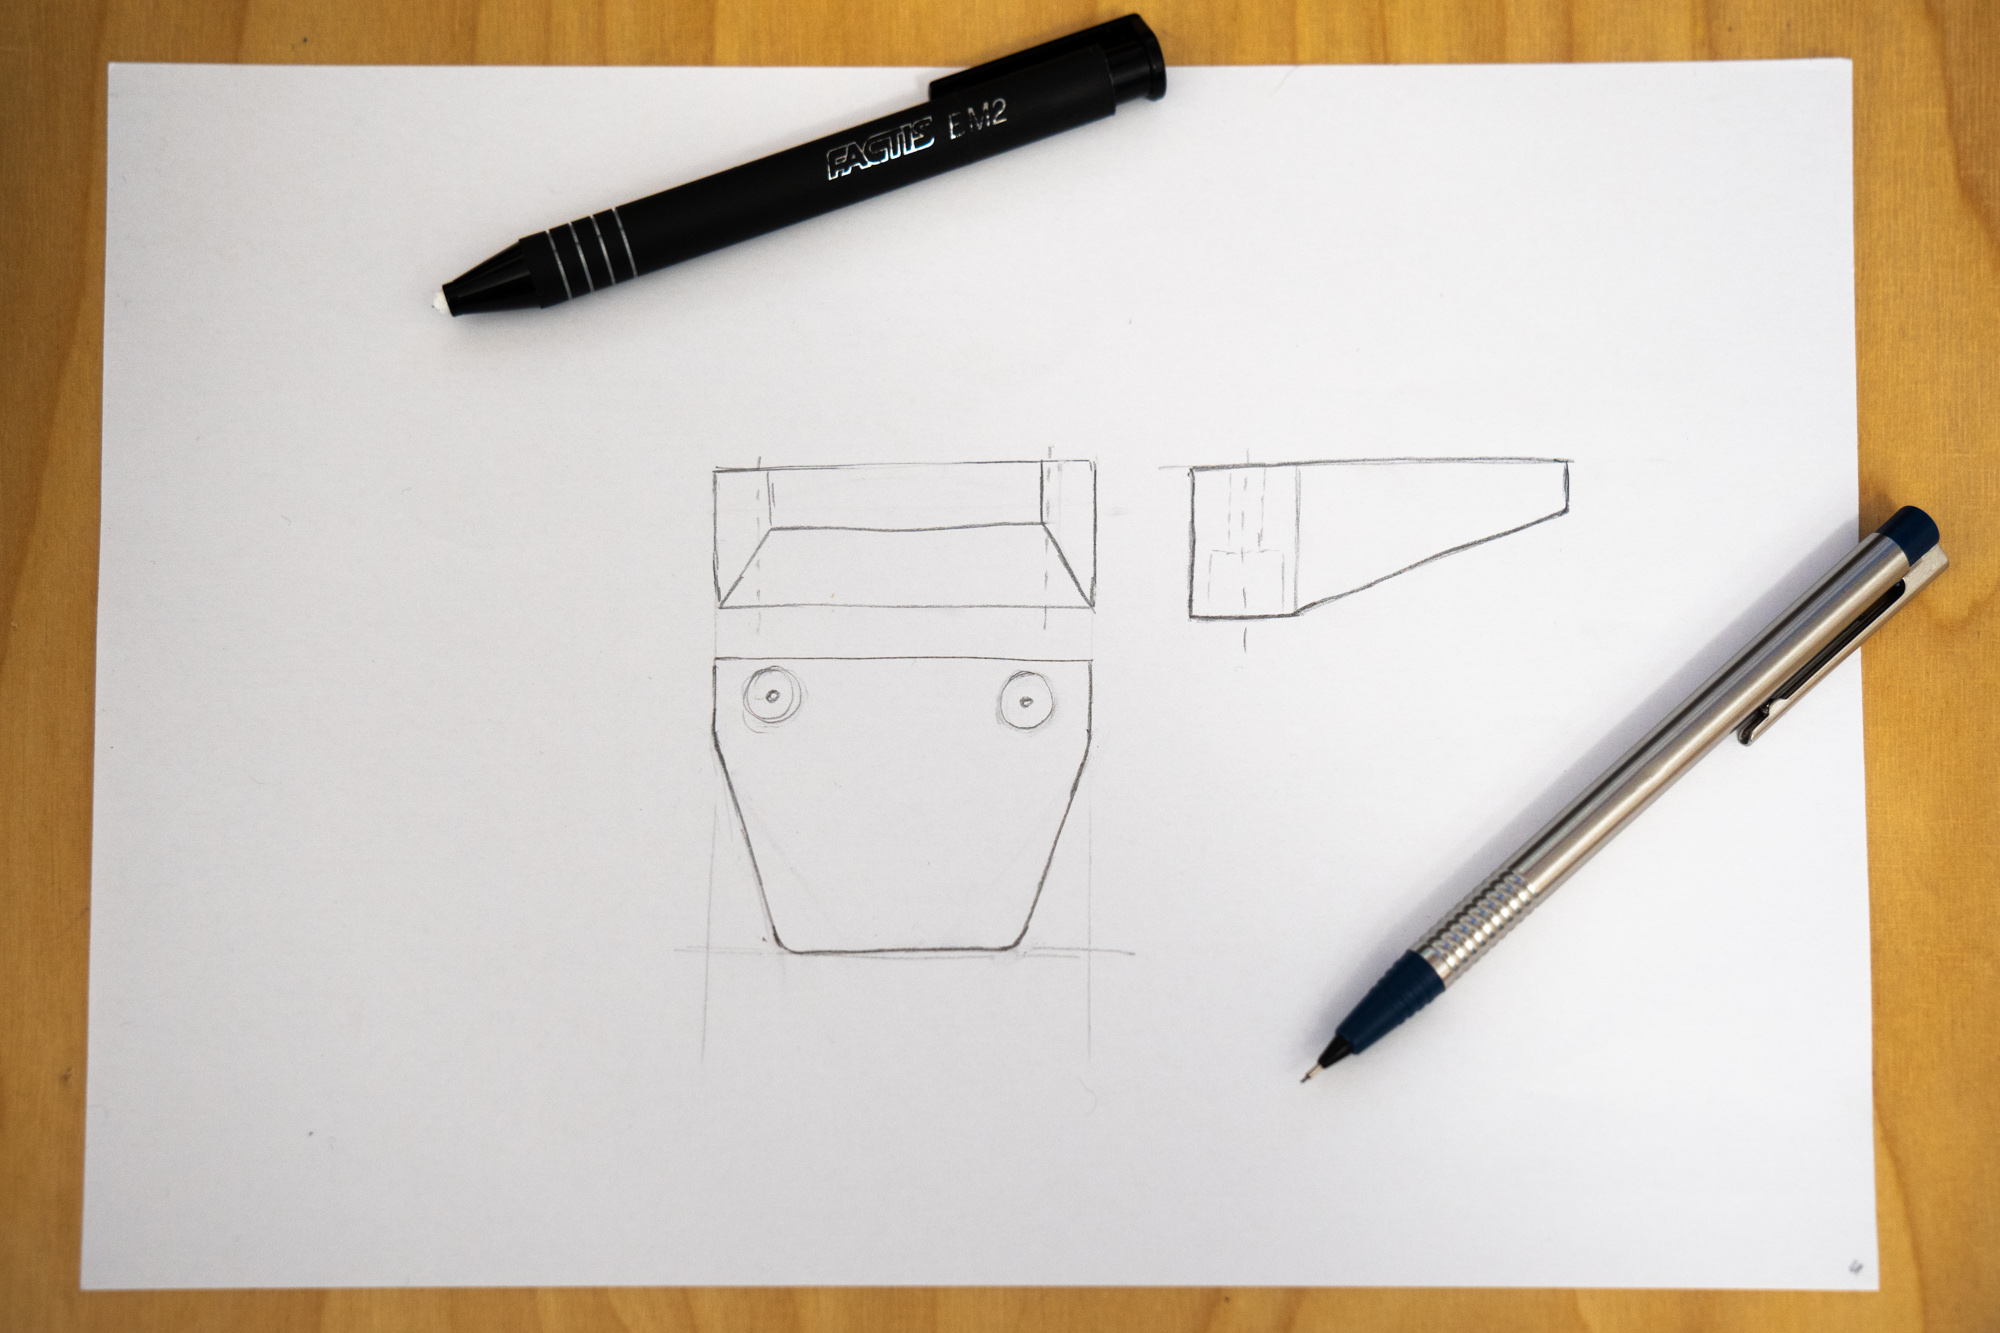
First is always some sort of hand sketch. Sometimes it’s very detailed, but more often it is a bit rougher, and just to get the overall shape and form. Most times, I don’t sketch in an isometric view and more in a top, front, left or right view (or any combination of these), that you might know from technical drawings. I find it easier, because I can concentrate on the form and shape and not so much on the perspective of my lines and shapes. It often takes several attempts and iterations, to get to the final version of a design. Here is the final sketch that I used for the Headphone Mount.

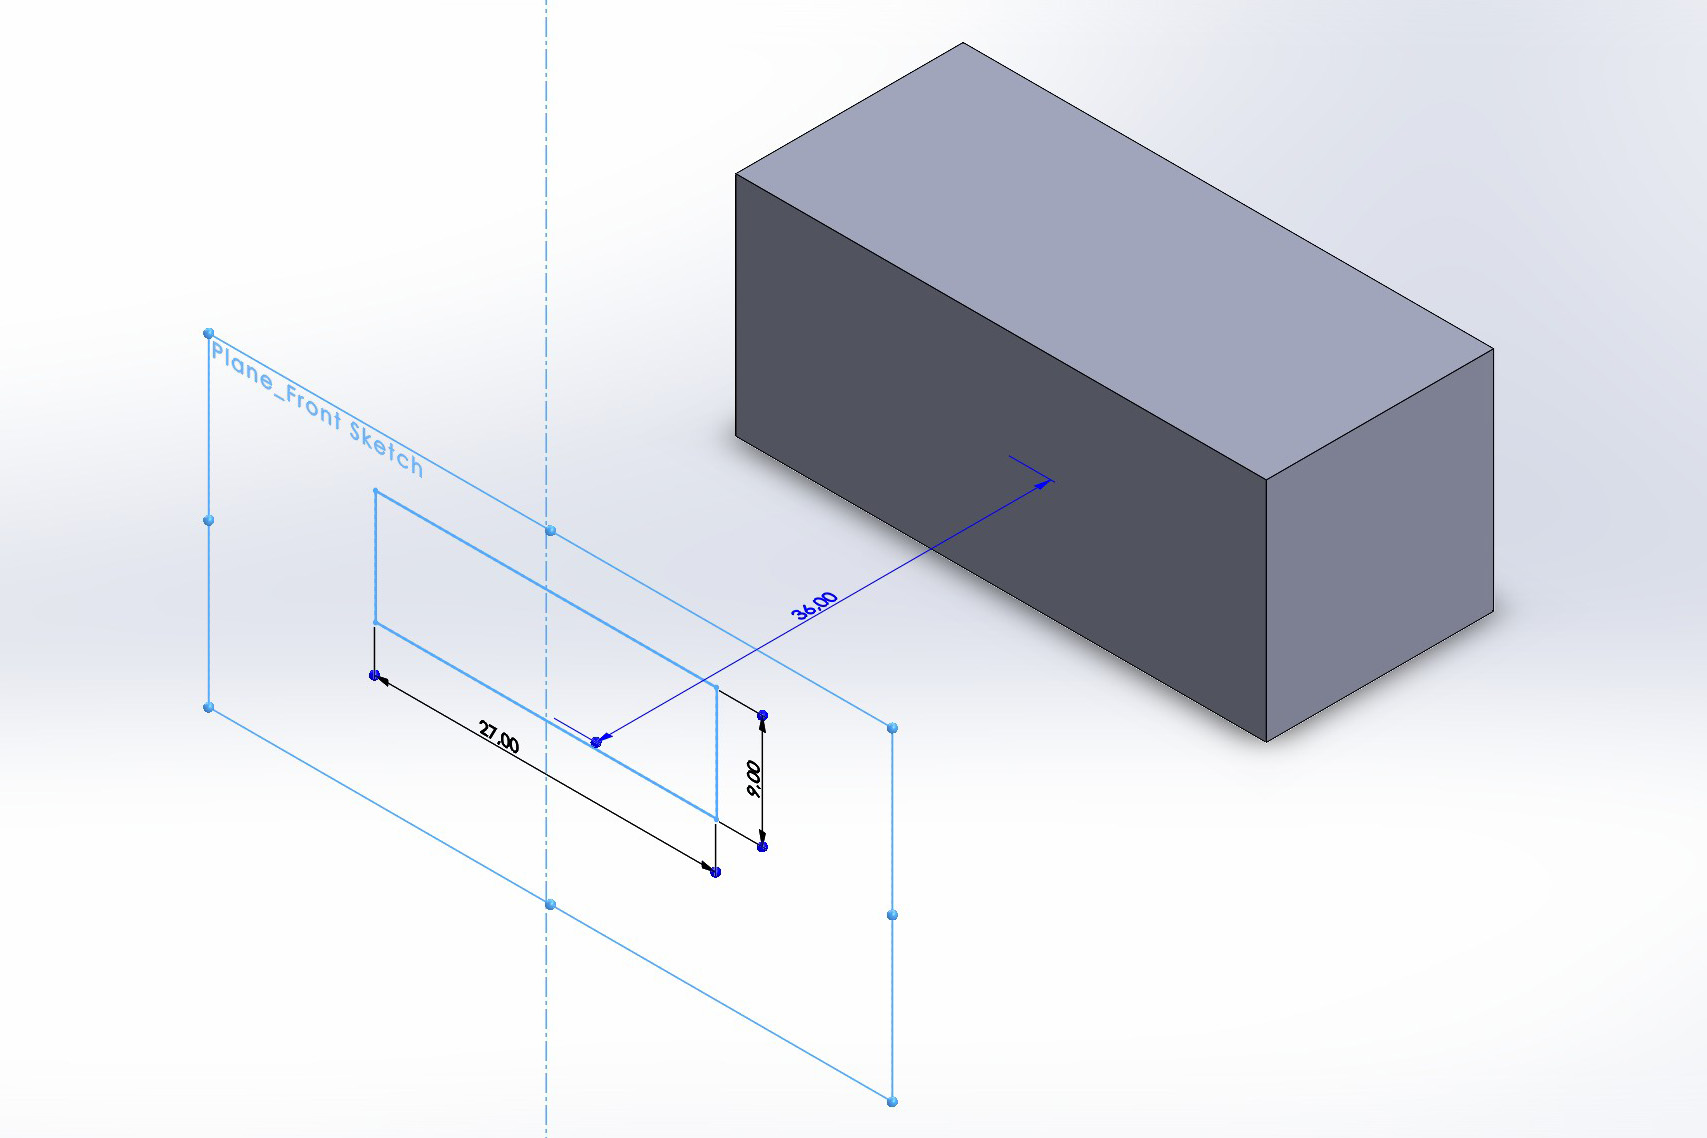
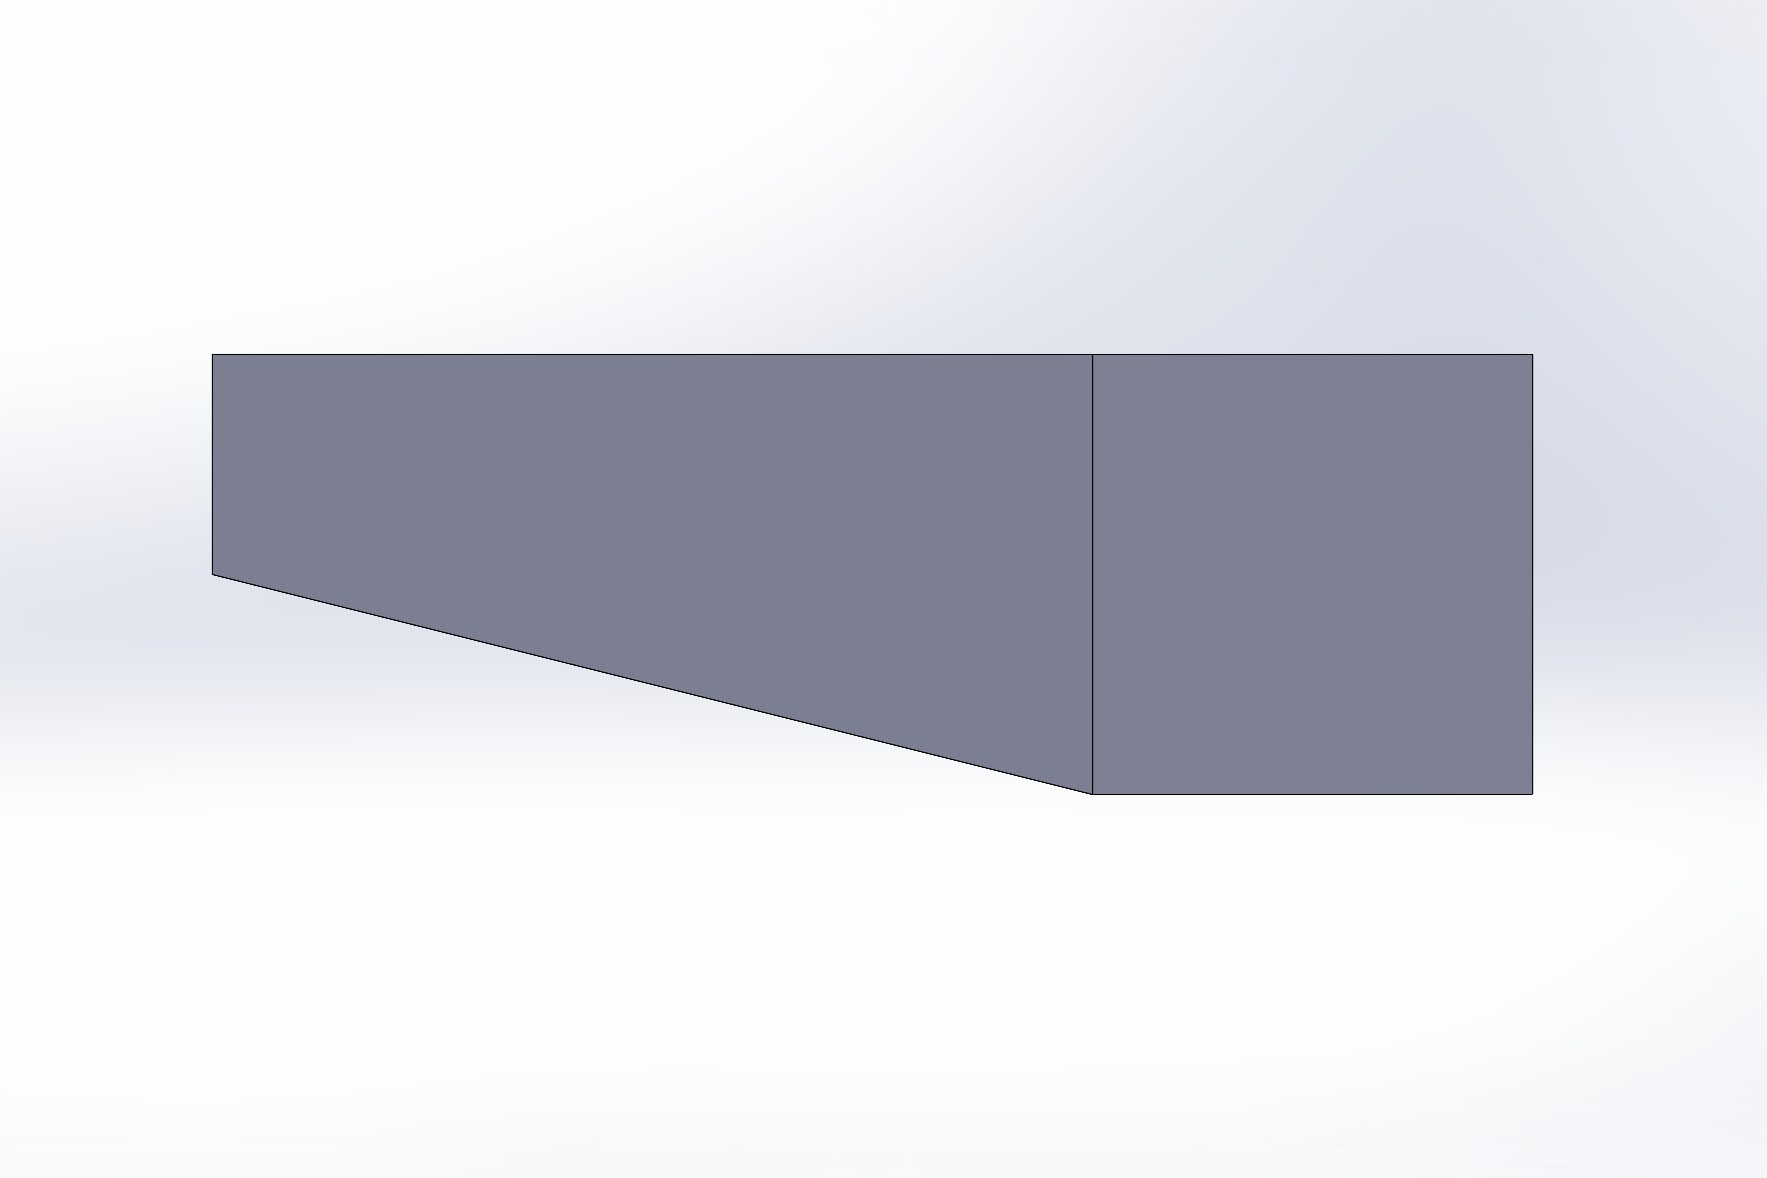
I knew, that I wanted to use the “Lofted Boss/Base” tool to get my overall shape. This tool requires two sketches to work, but one of these sketches can be the face of a body. So, my first step was to create the body that will later be the base that is screwed to the shelf. For my second sketch, I made a plane with an offset from the face of the base body. The offset is determined by the width of my headphone frame. Give it a little extra space, so your headphones have some wiggle room. It is now time to use the “Lofted Boss/Base” tool. Select the face and sketch and SolidWorks will create your desired shape.


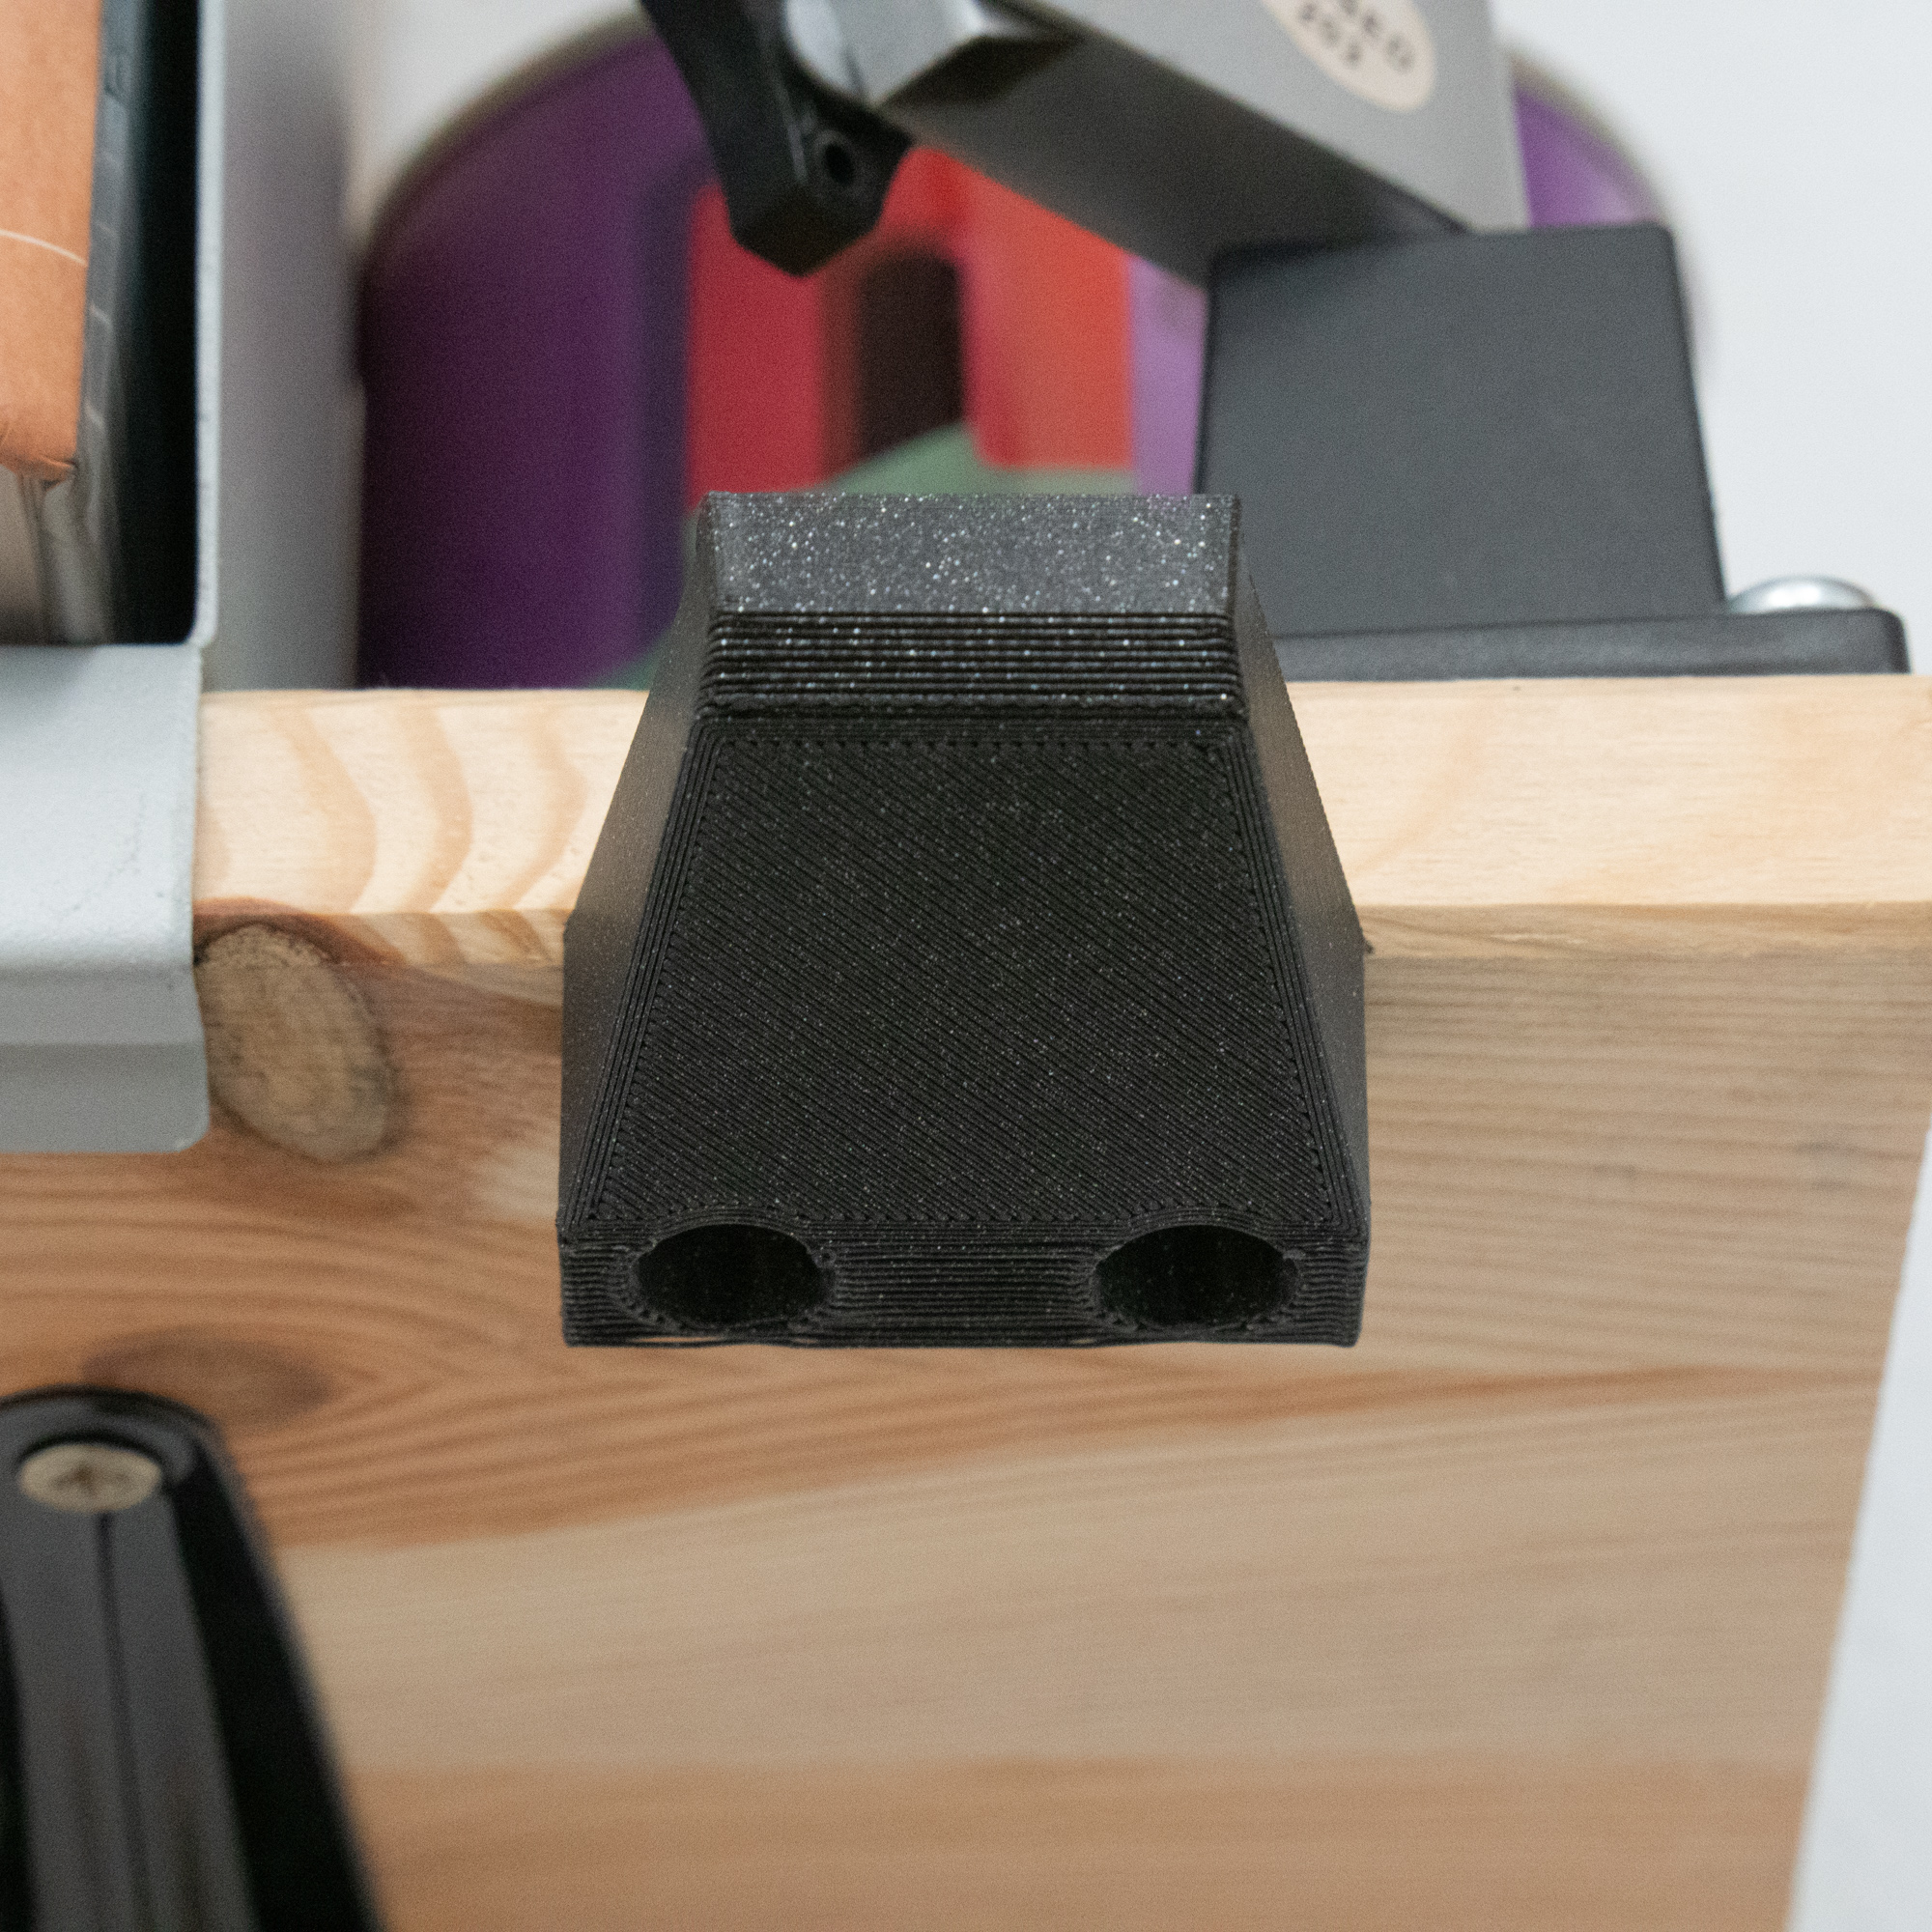
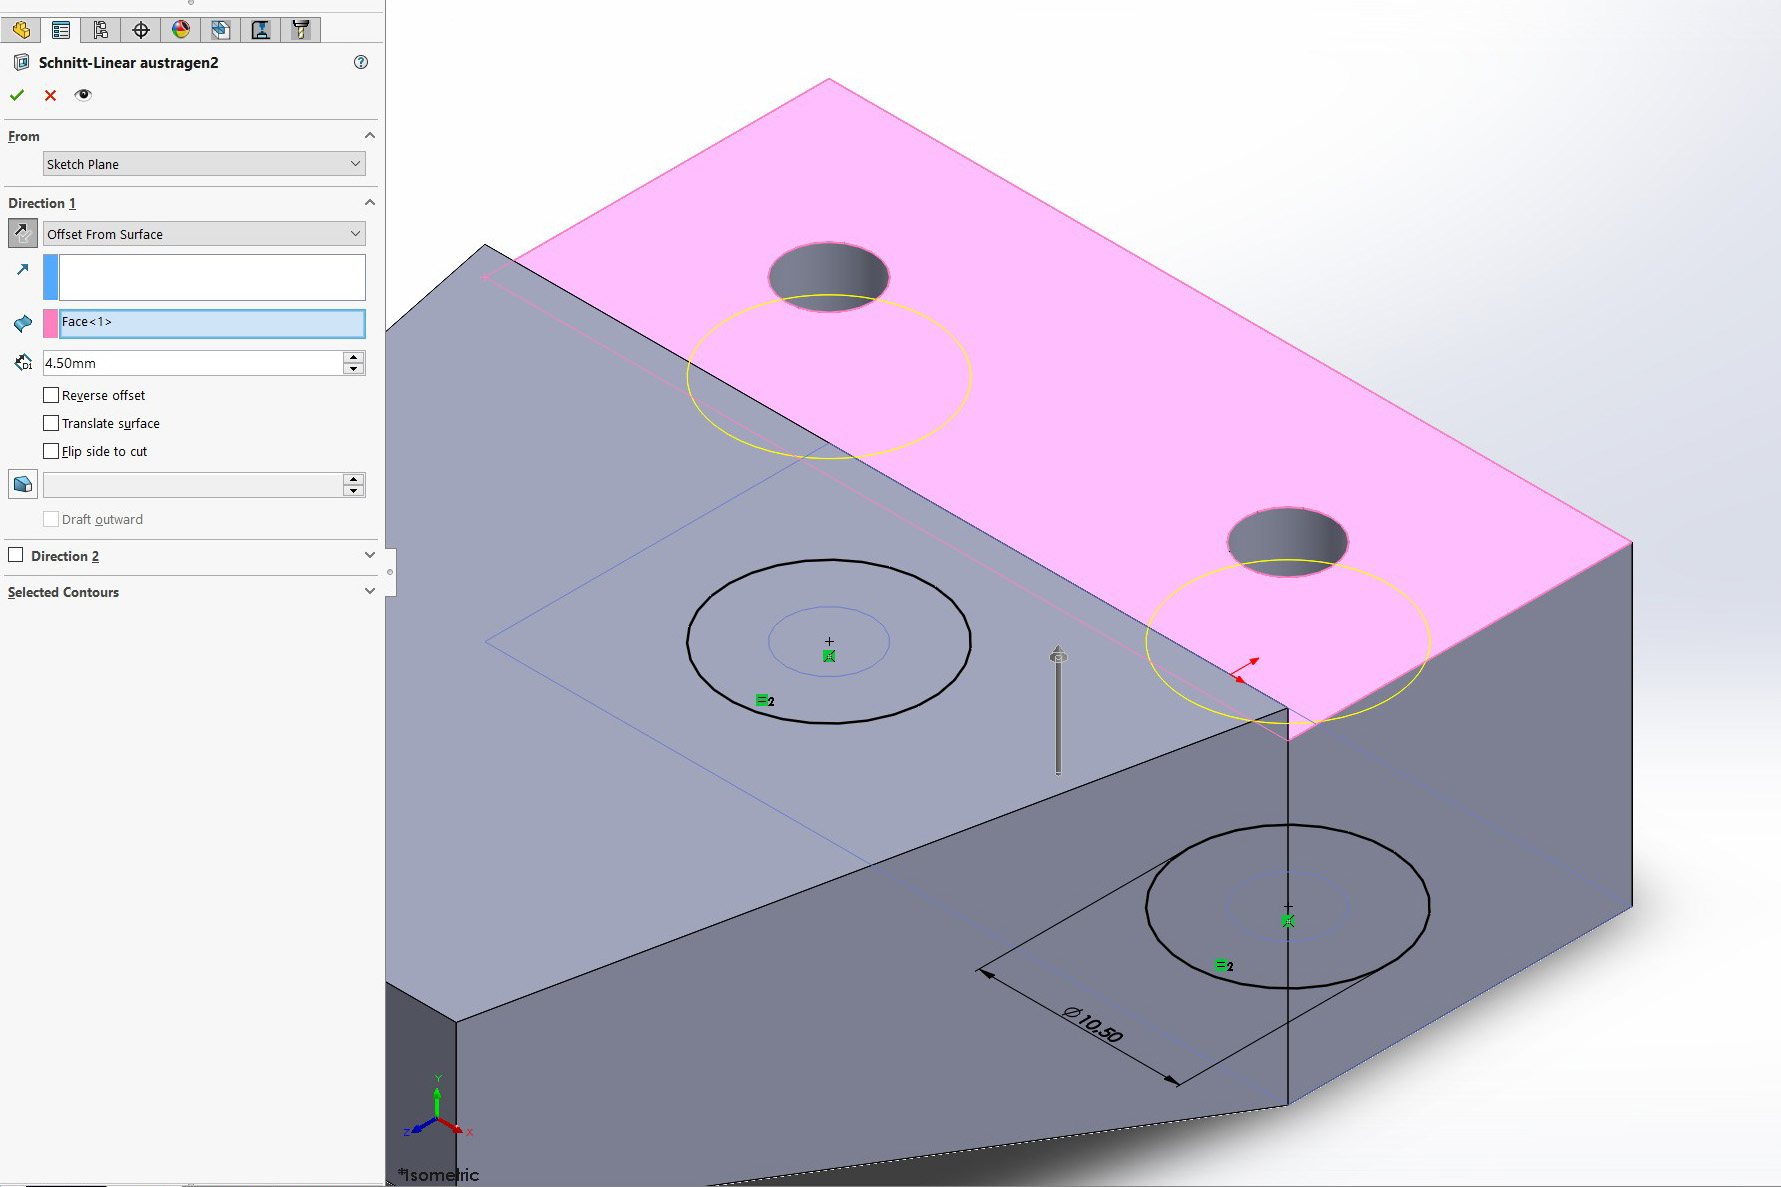
Next step was to create a ledge to position the holder while screwing it to the shelf. Talking about screws: For my 2 screws (5×17 pan head wood screws), I first created through holes. I didn’t want the screws to be too visible, so I made a countersink for them. The pan heads are around Ø9.5 mm, so Ø10.5 mm should be sufficient. I offset the extrusion 4.5 mm from the ledge surface. That gives me enough wall thickness as well as thread turns to hold it in place.


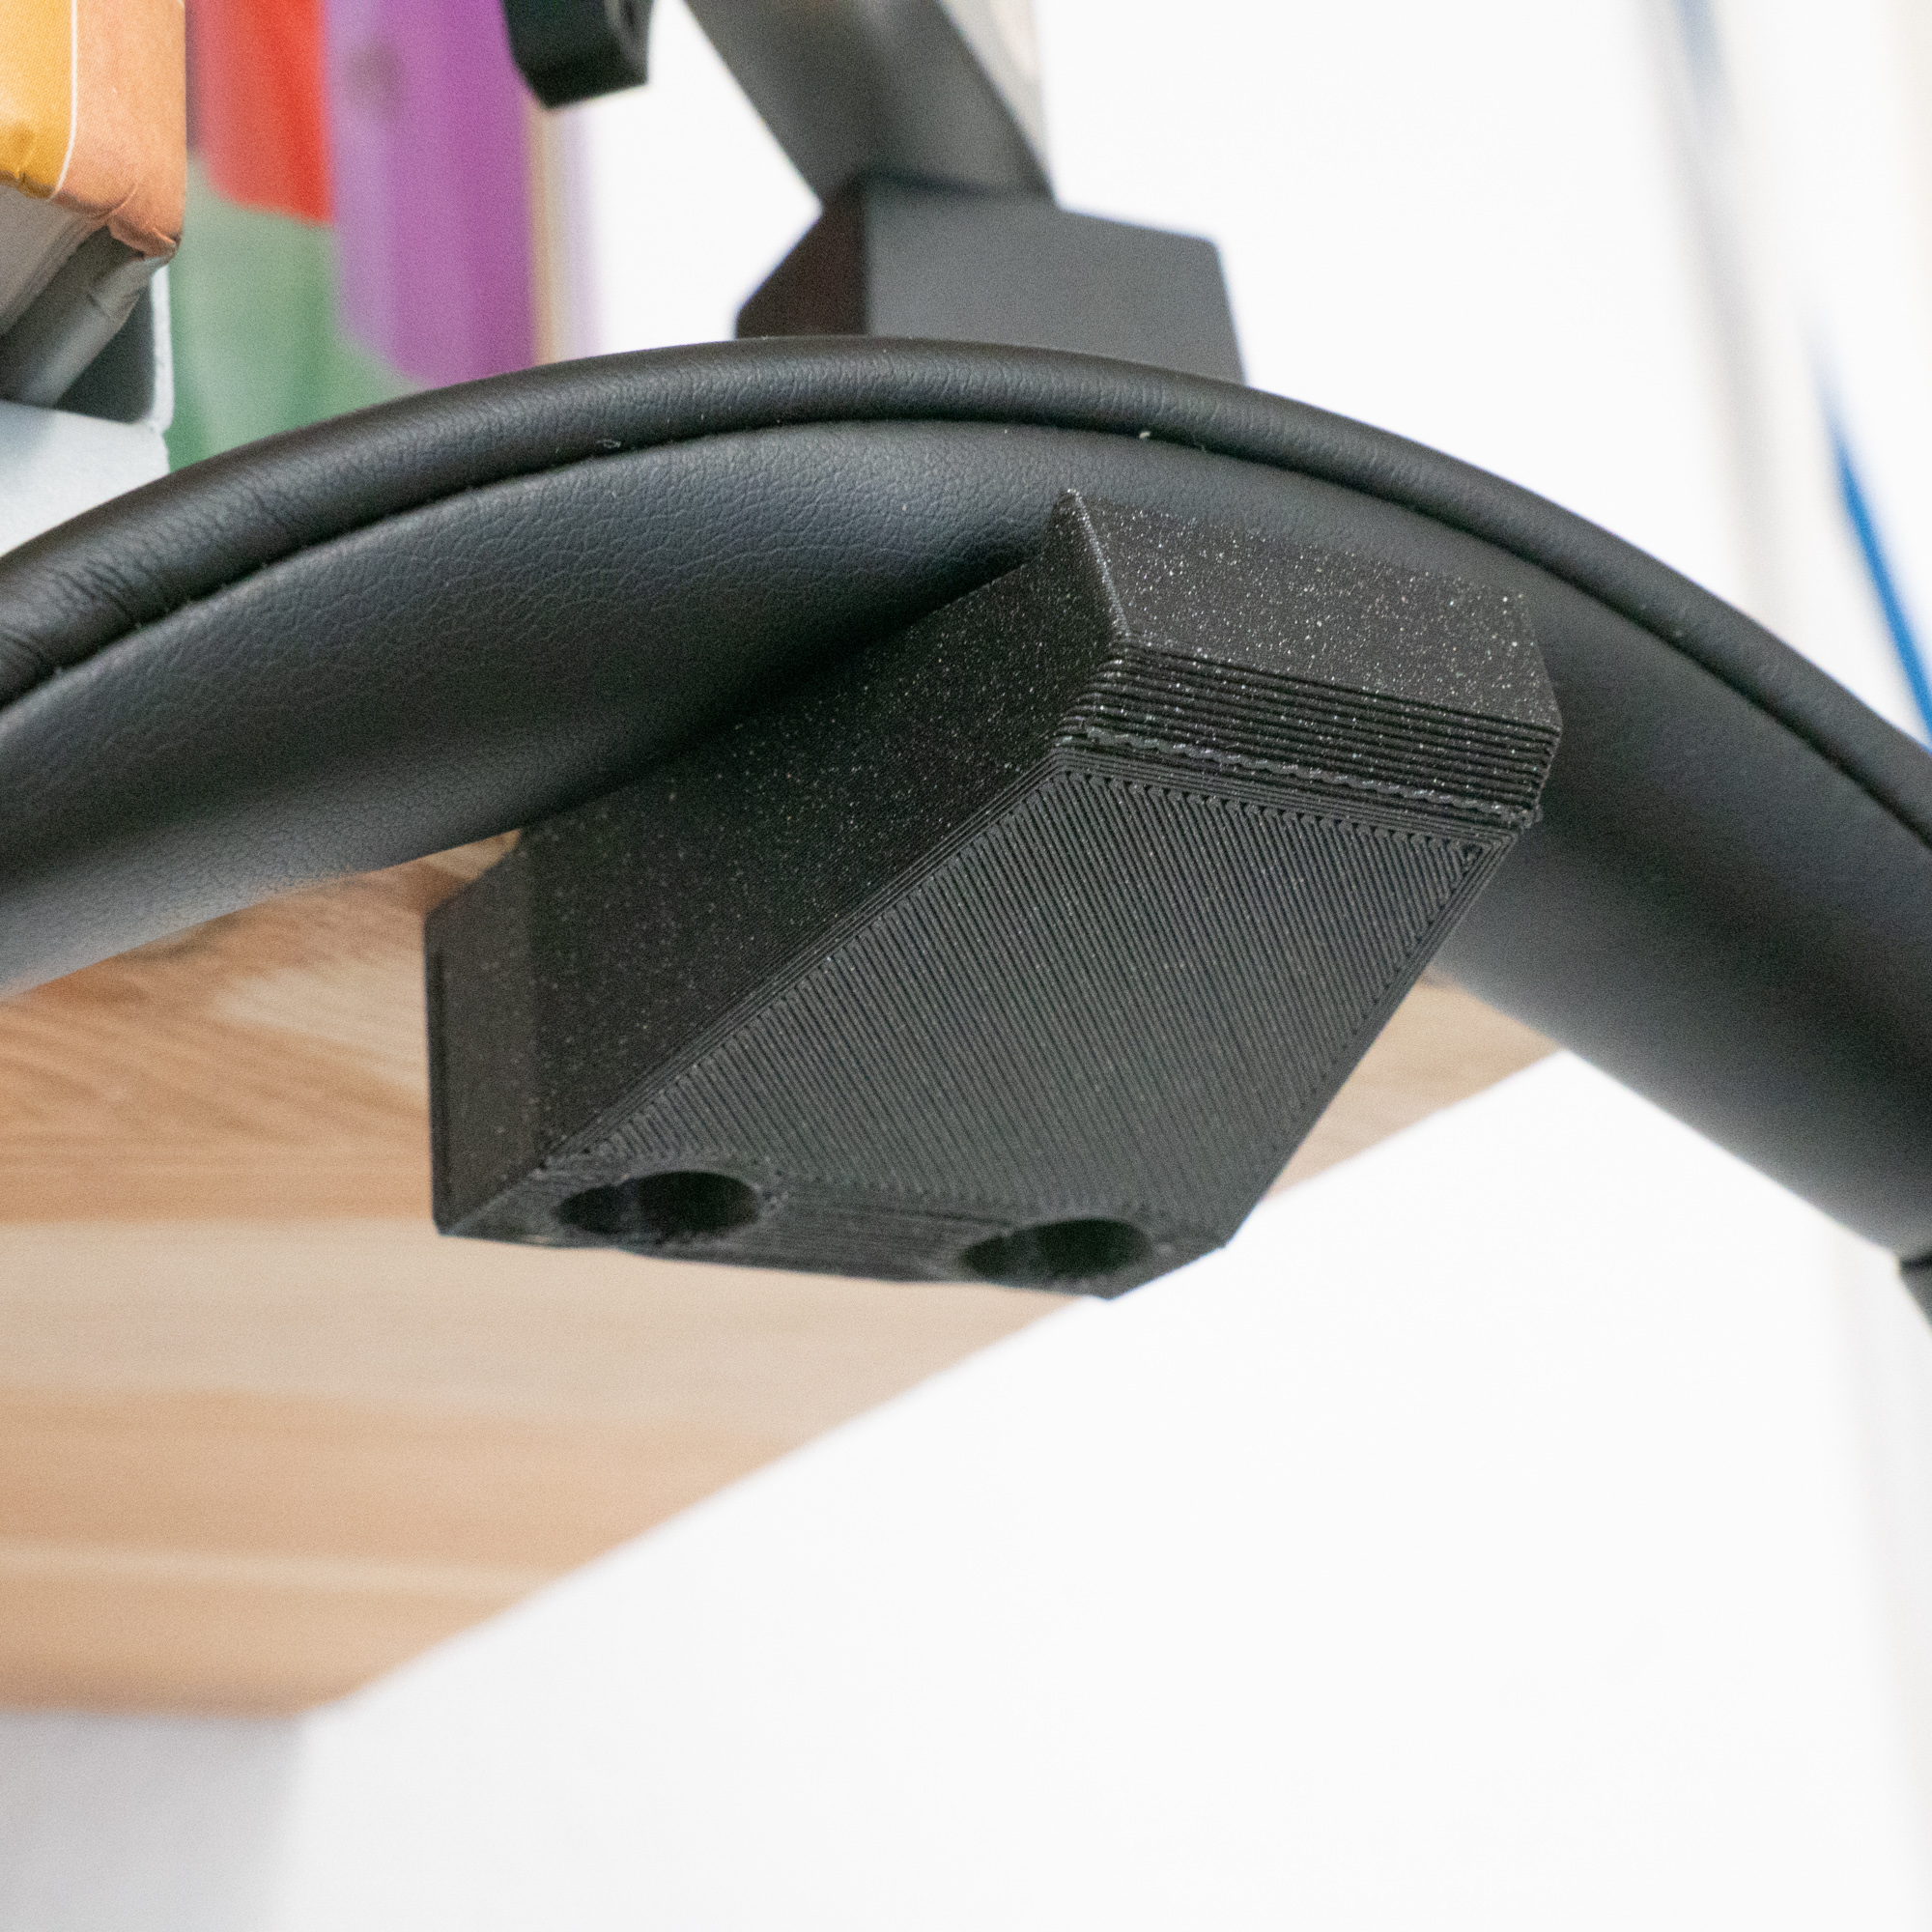
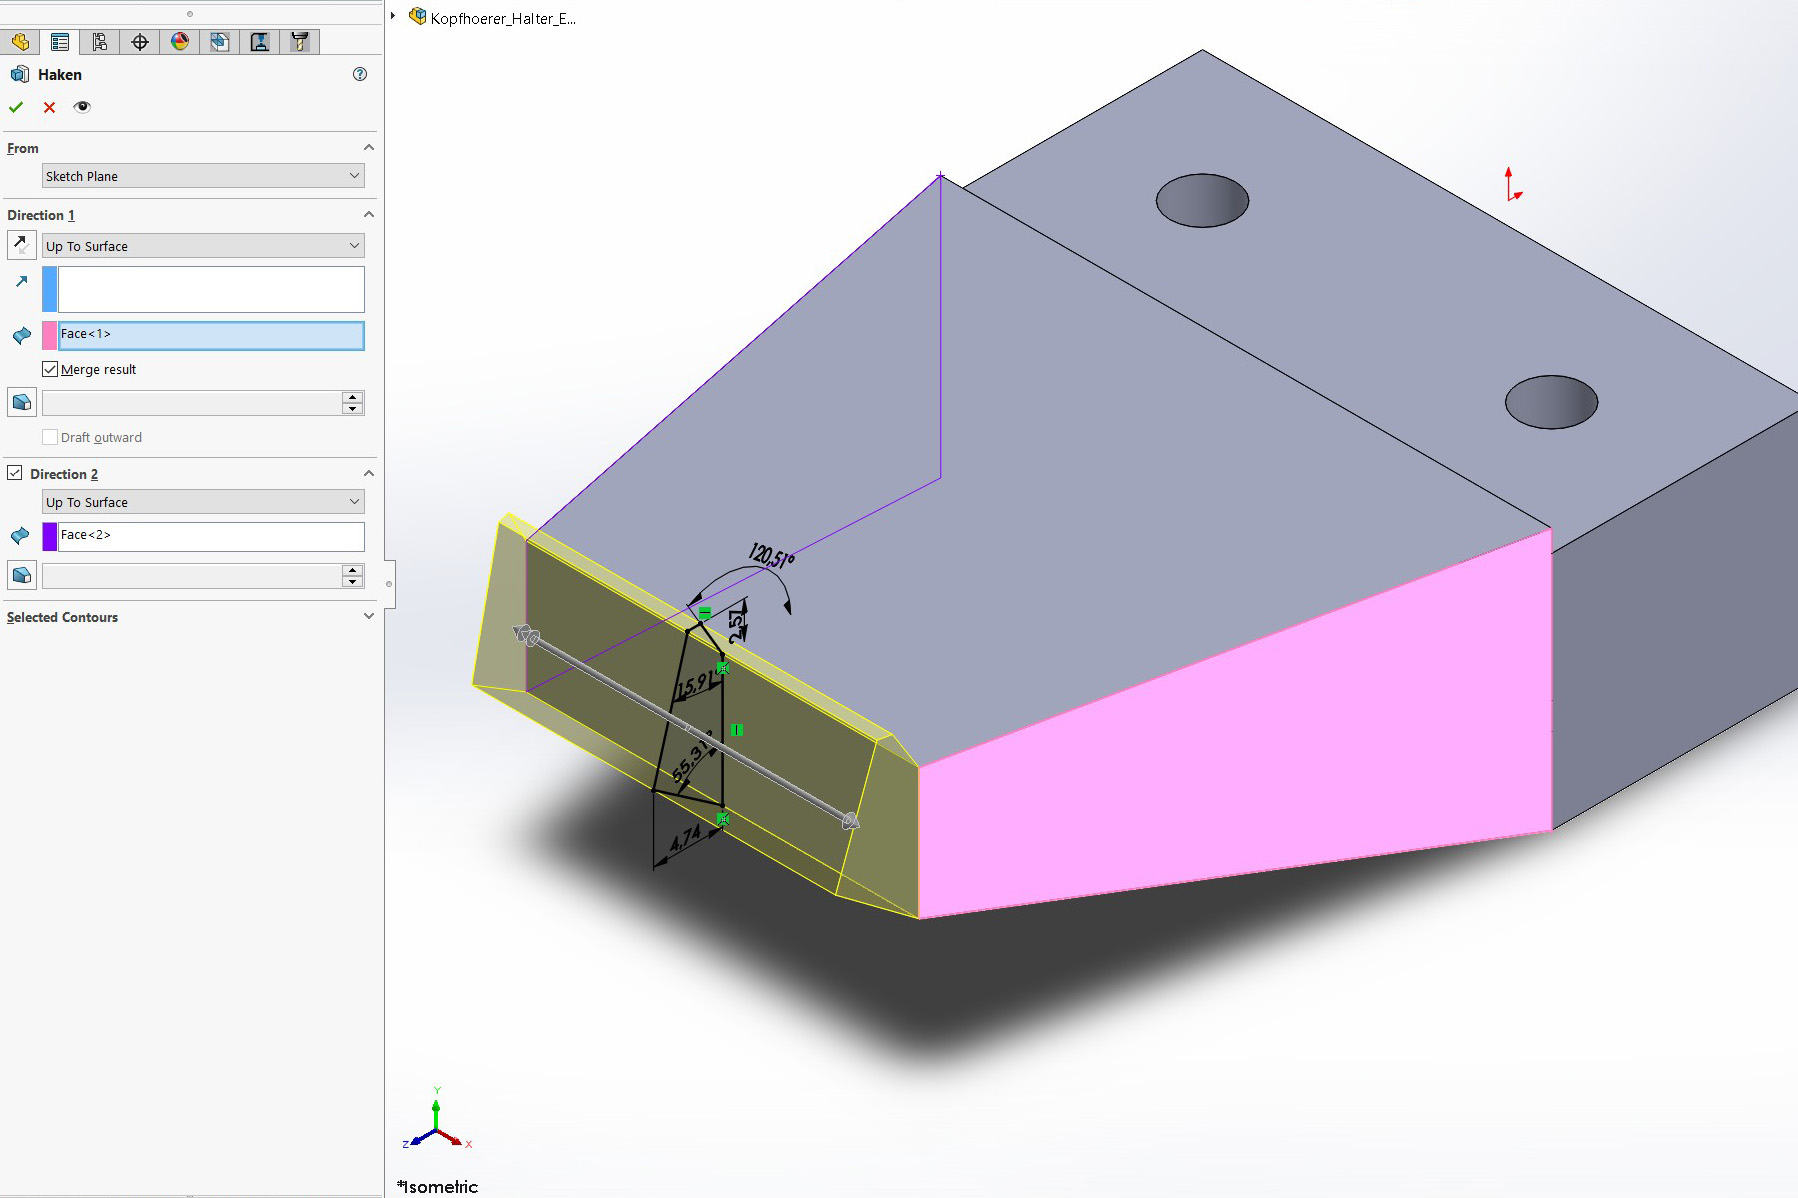
The next to last step was to create sort of a hook in the front. It is probably more for aesthetics than function, at least with the dimensions I went with. I created the shape completely free and added dimension later, just to lock in place. For the Extrusion, I used the “Up To Surface” option for both directions and chose the left and right faces, so the end result will follow the overall shape. In the last step, I rounded over a couple of edges, so it isn’t too harsh on the headphone pads.

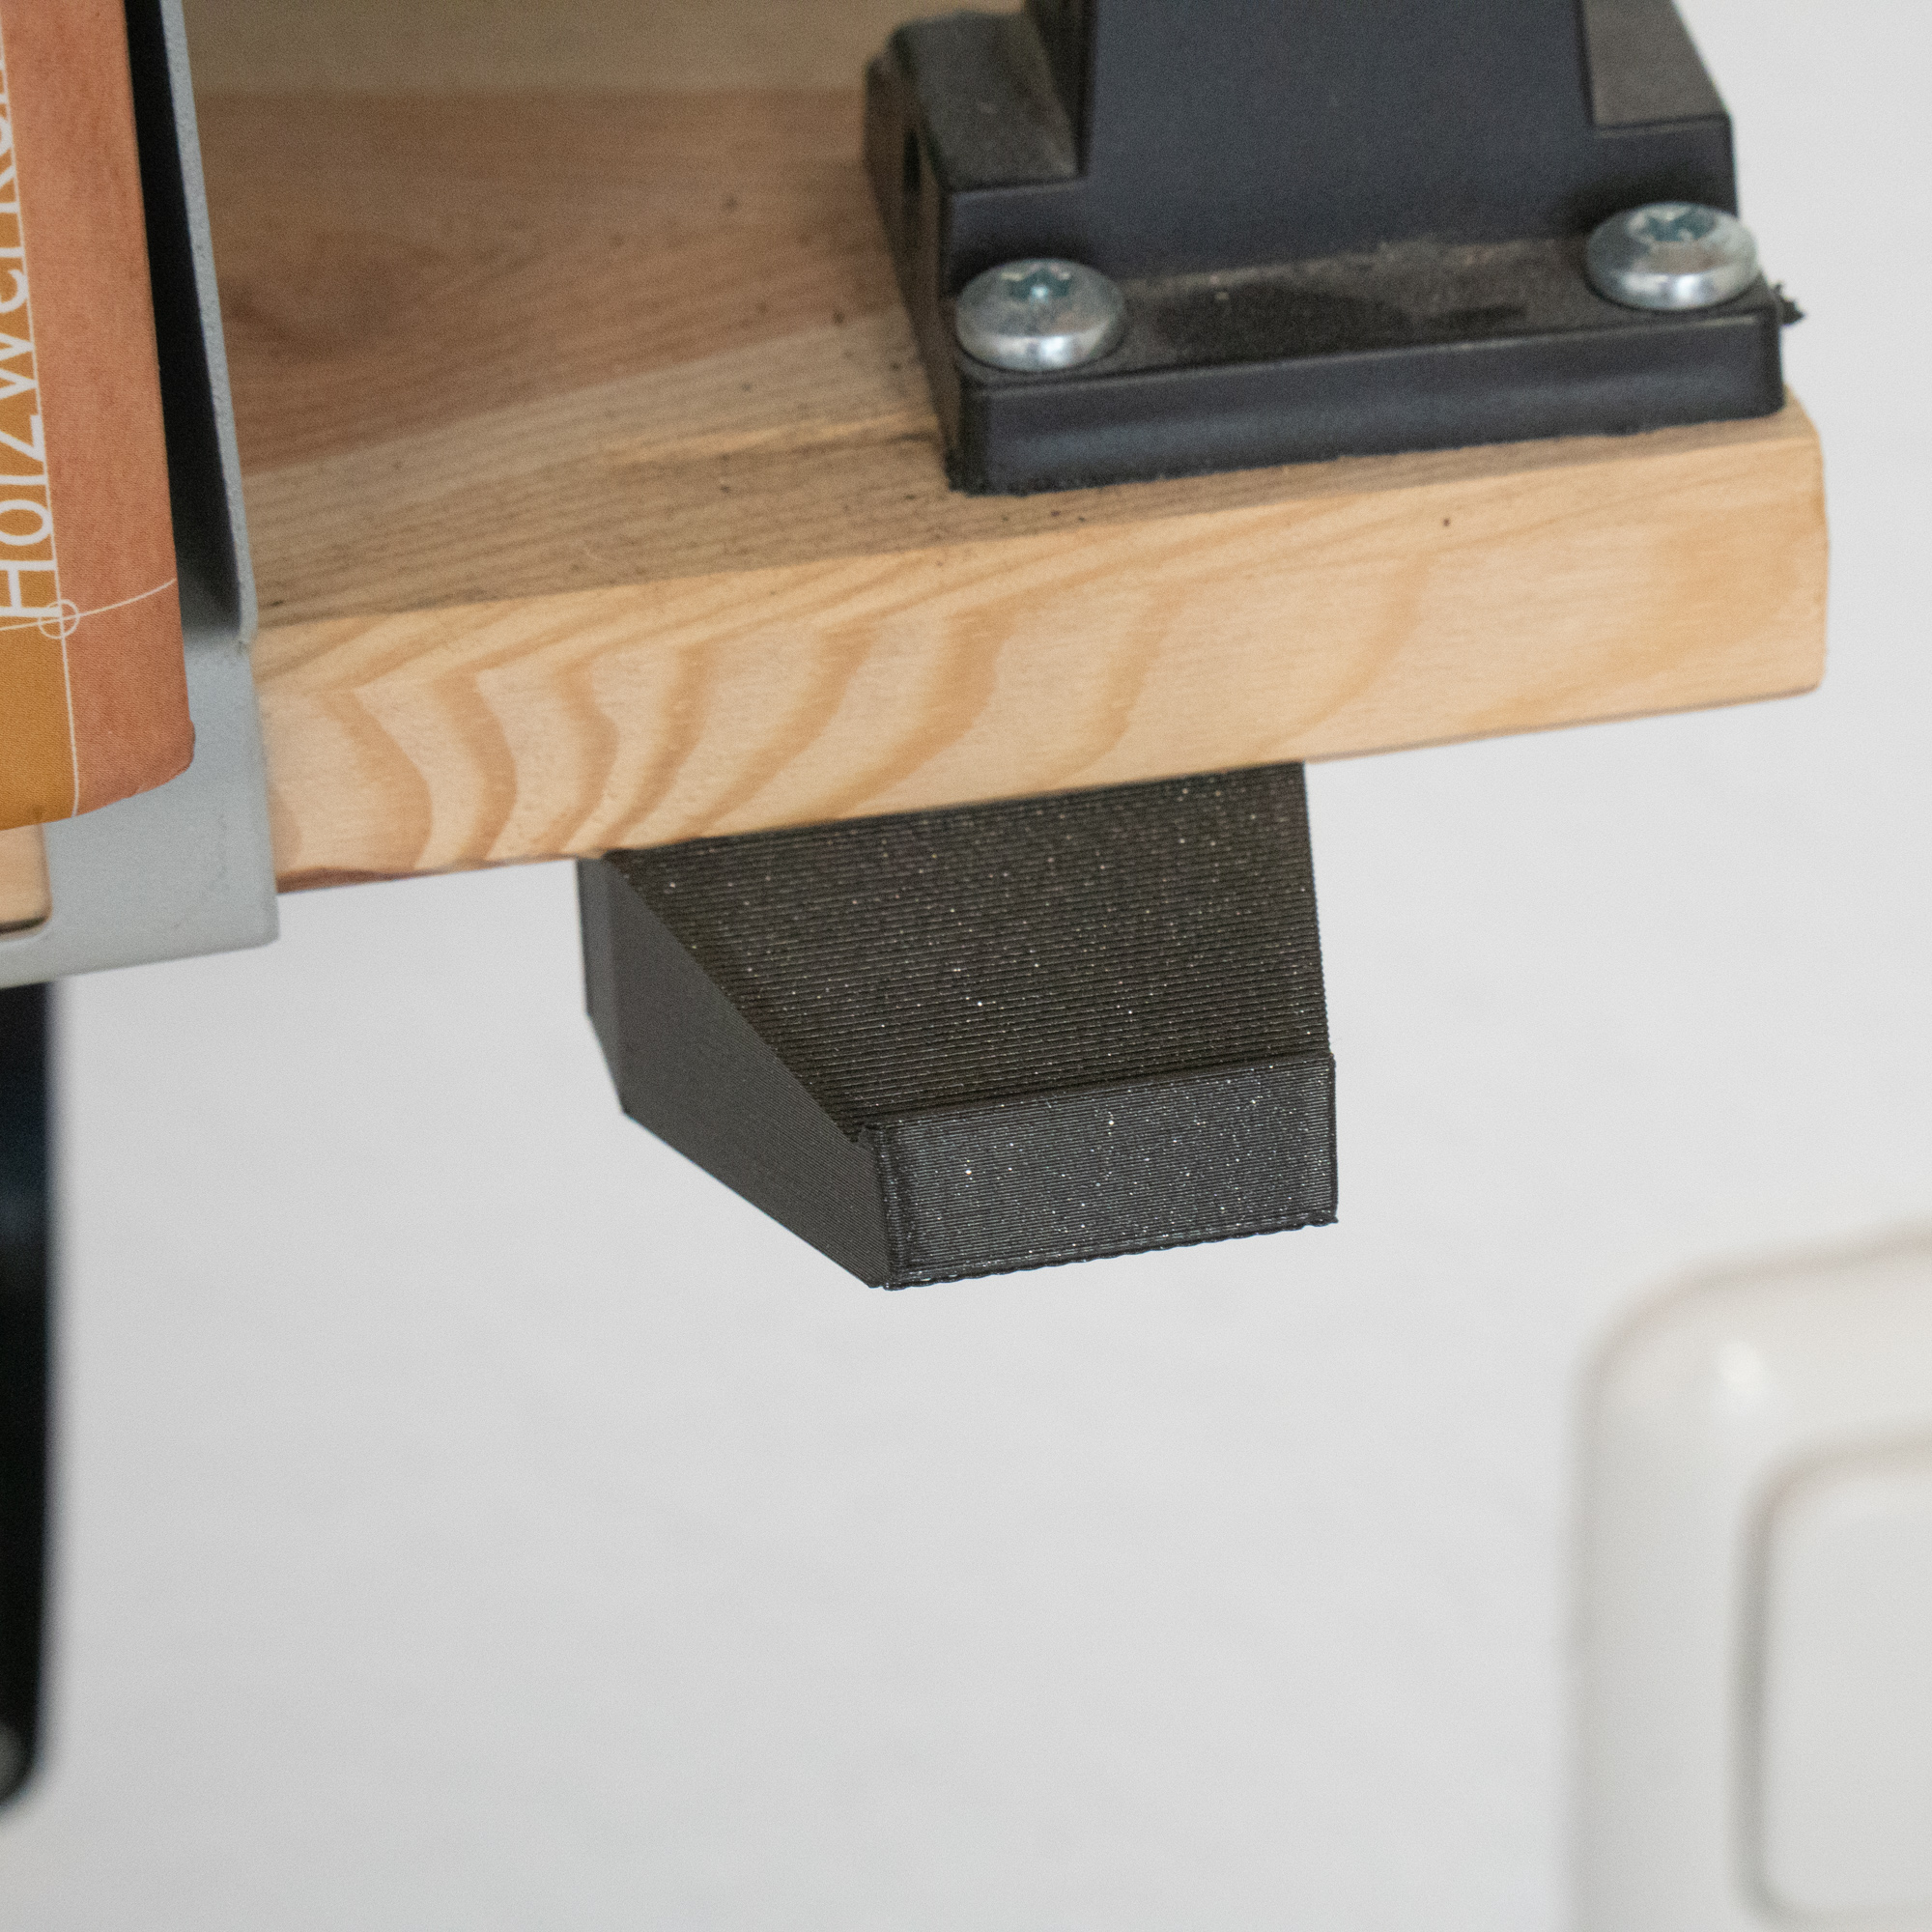
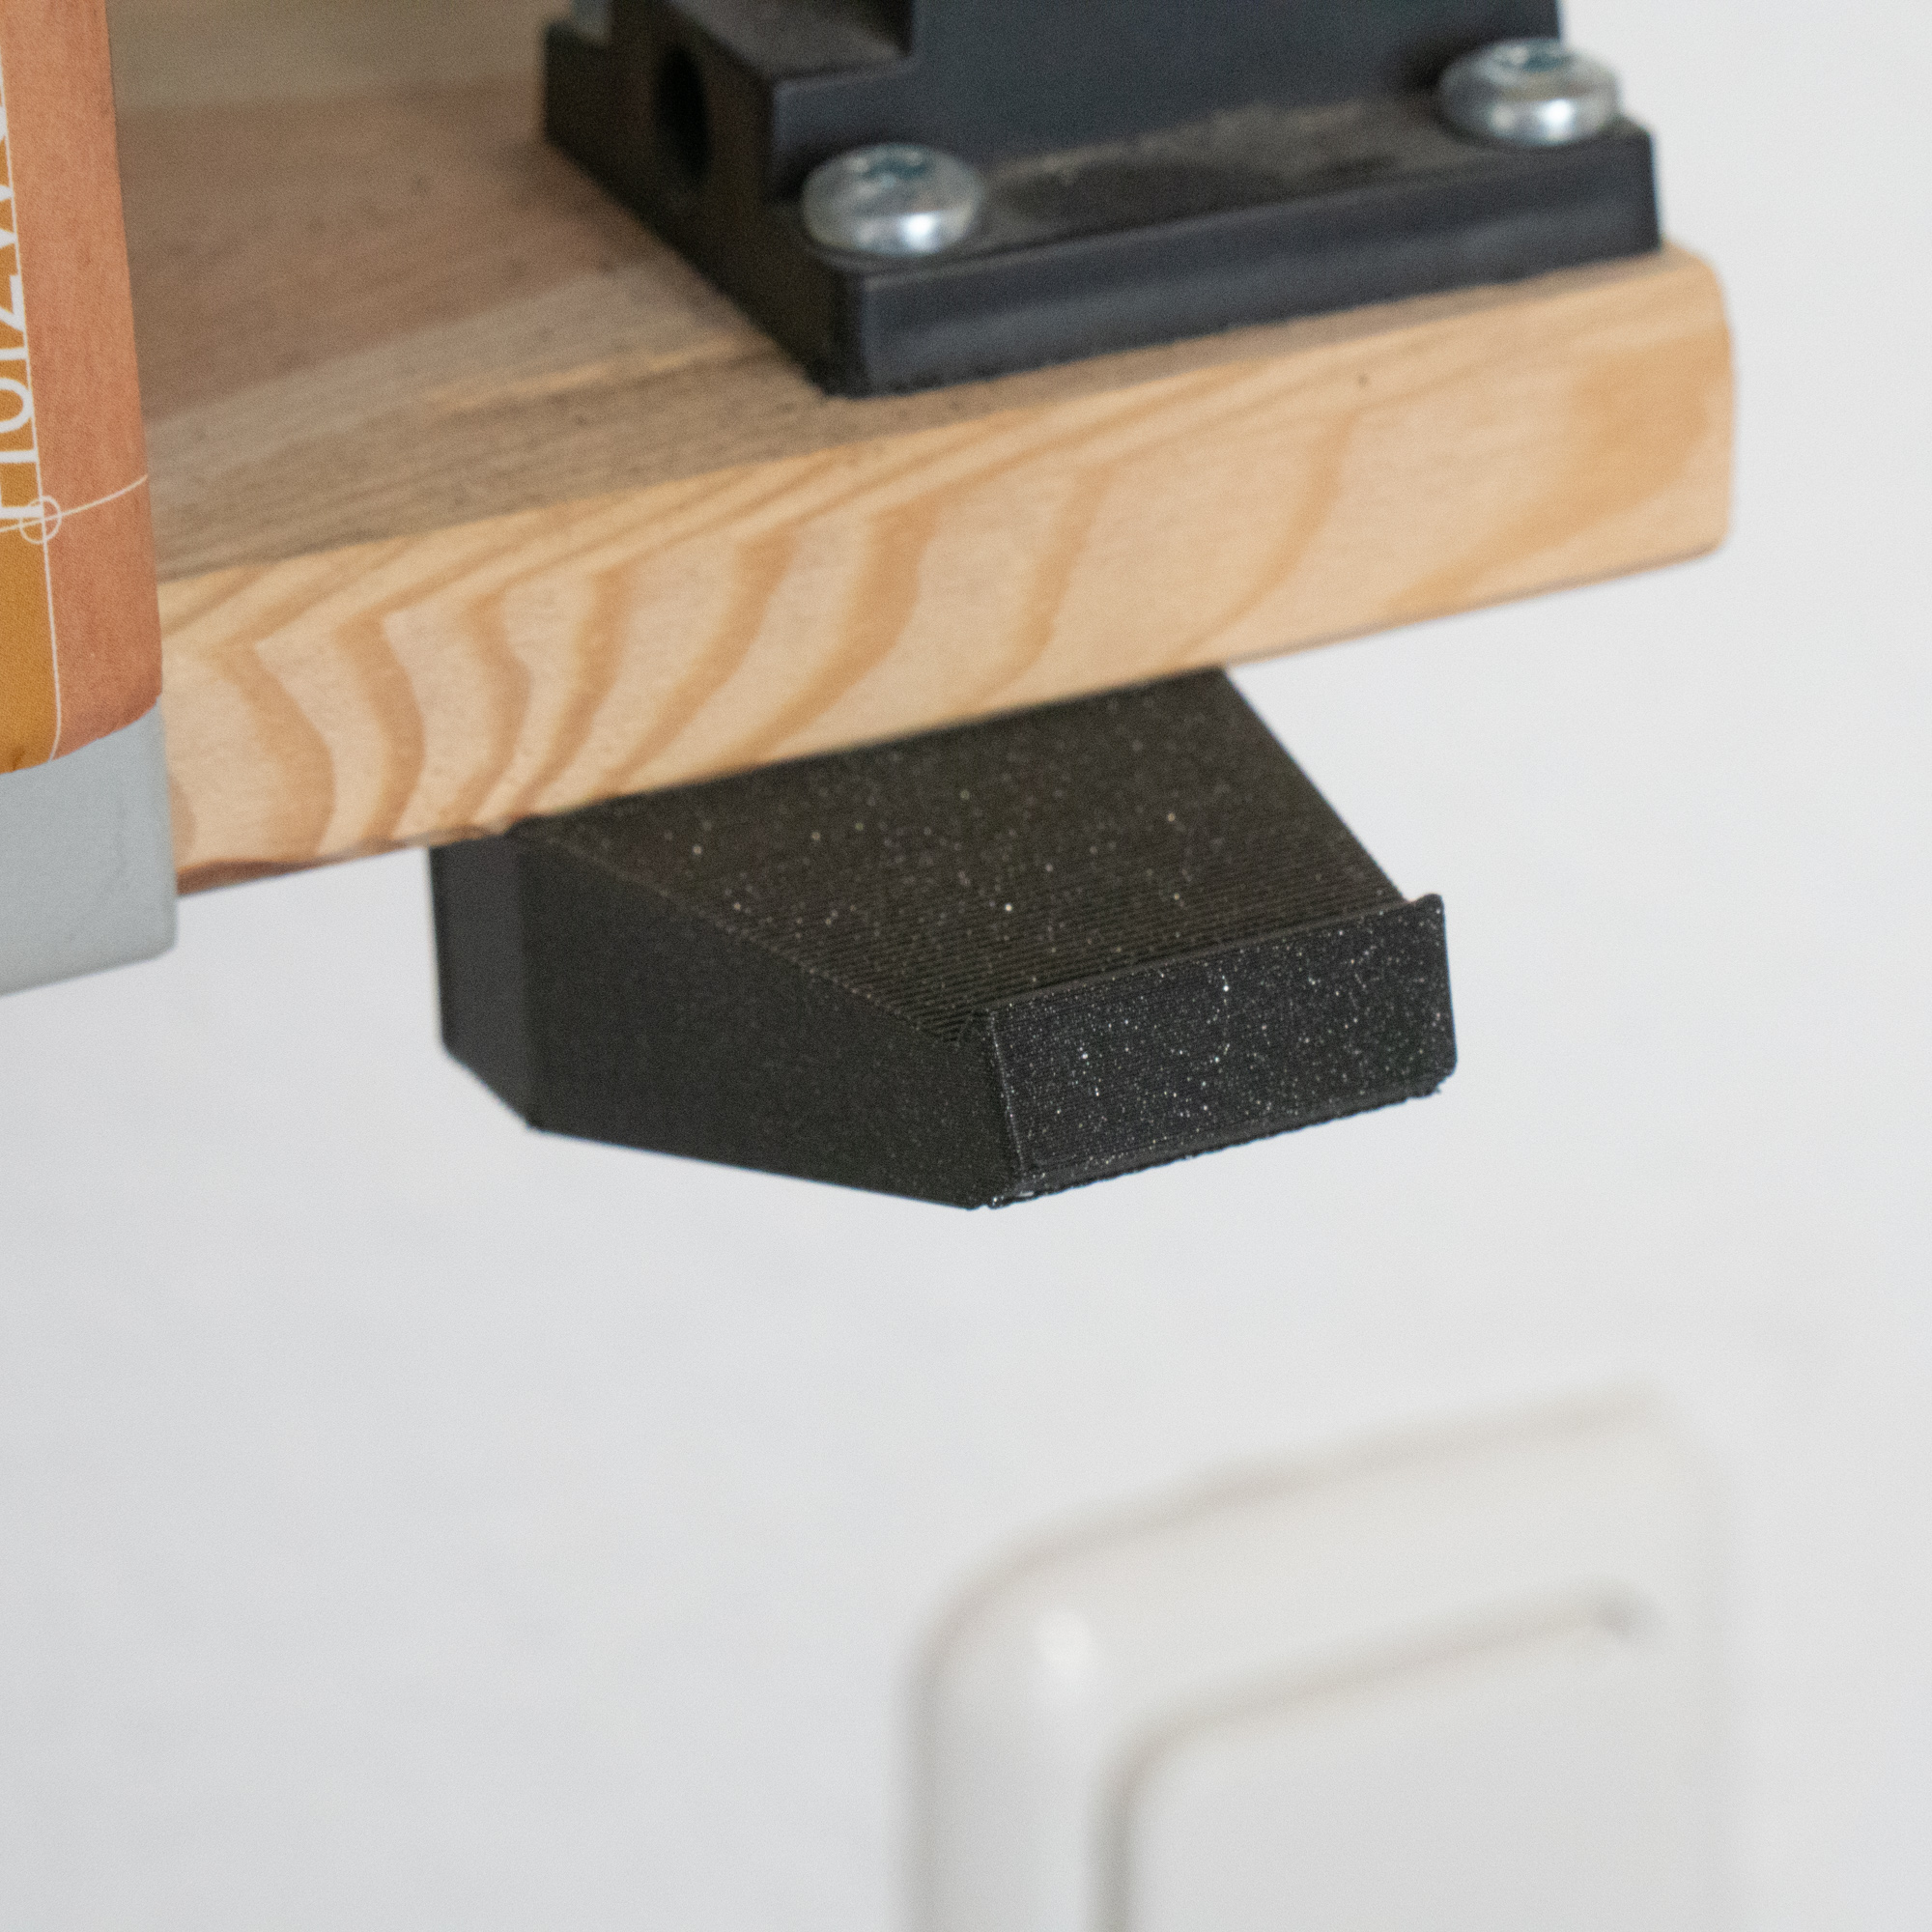
Short notes on the printing process: I set it on the big underside surface and printed with supports and a layer height of 0.2 mm (see the screenshots).


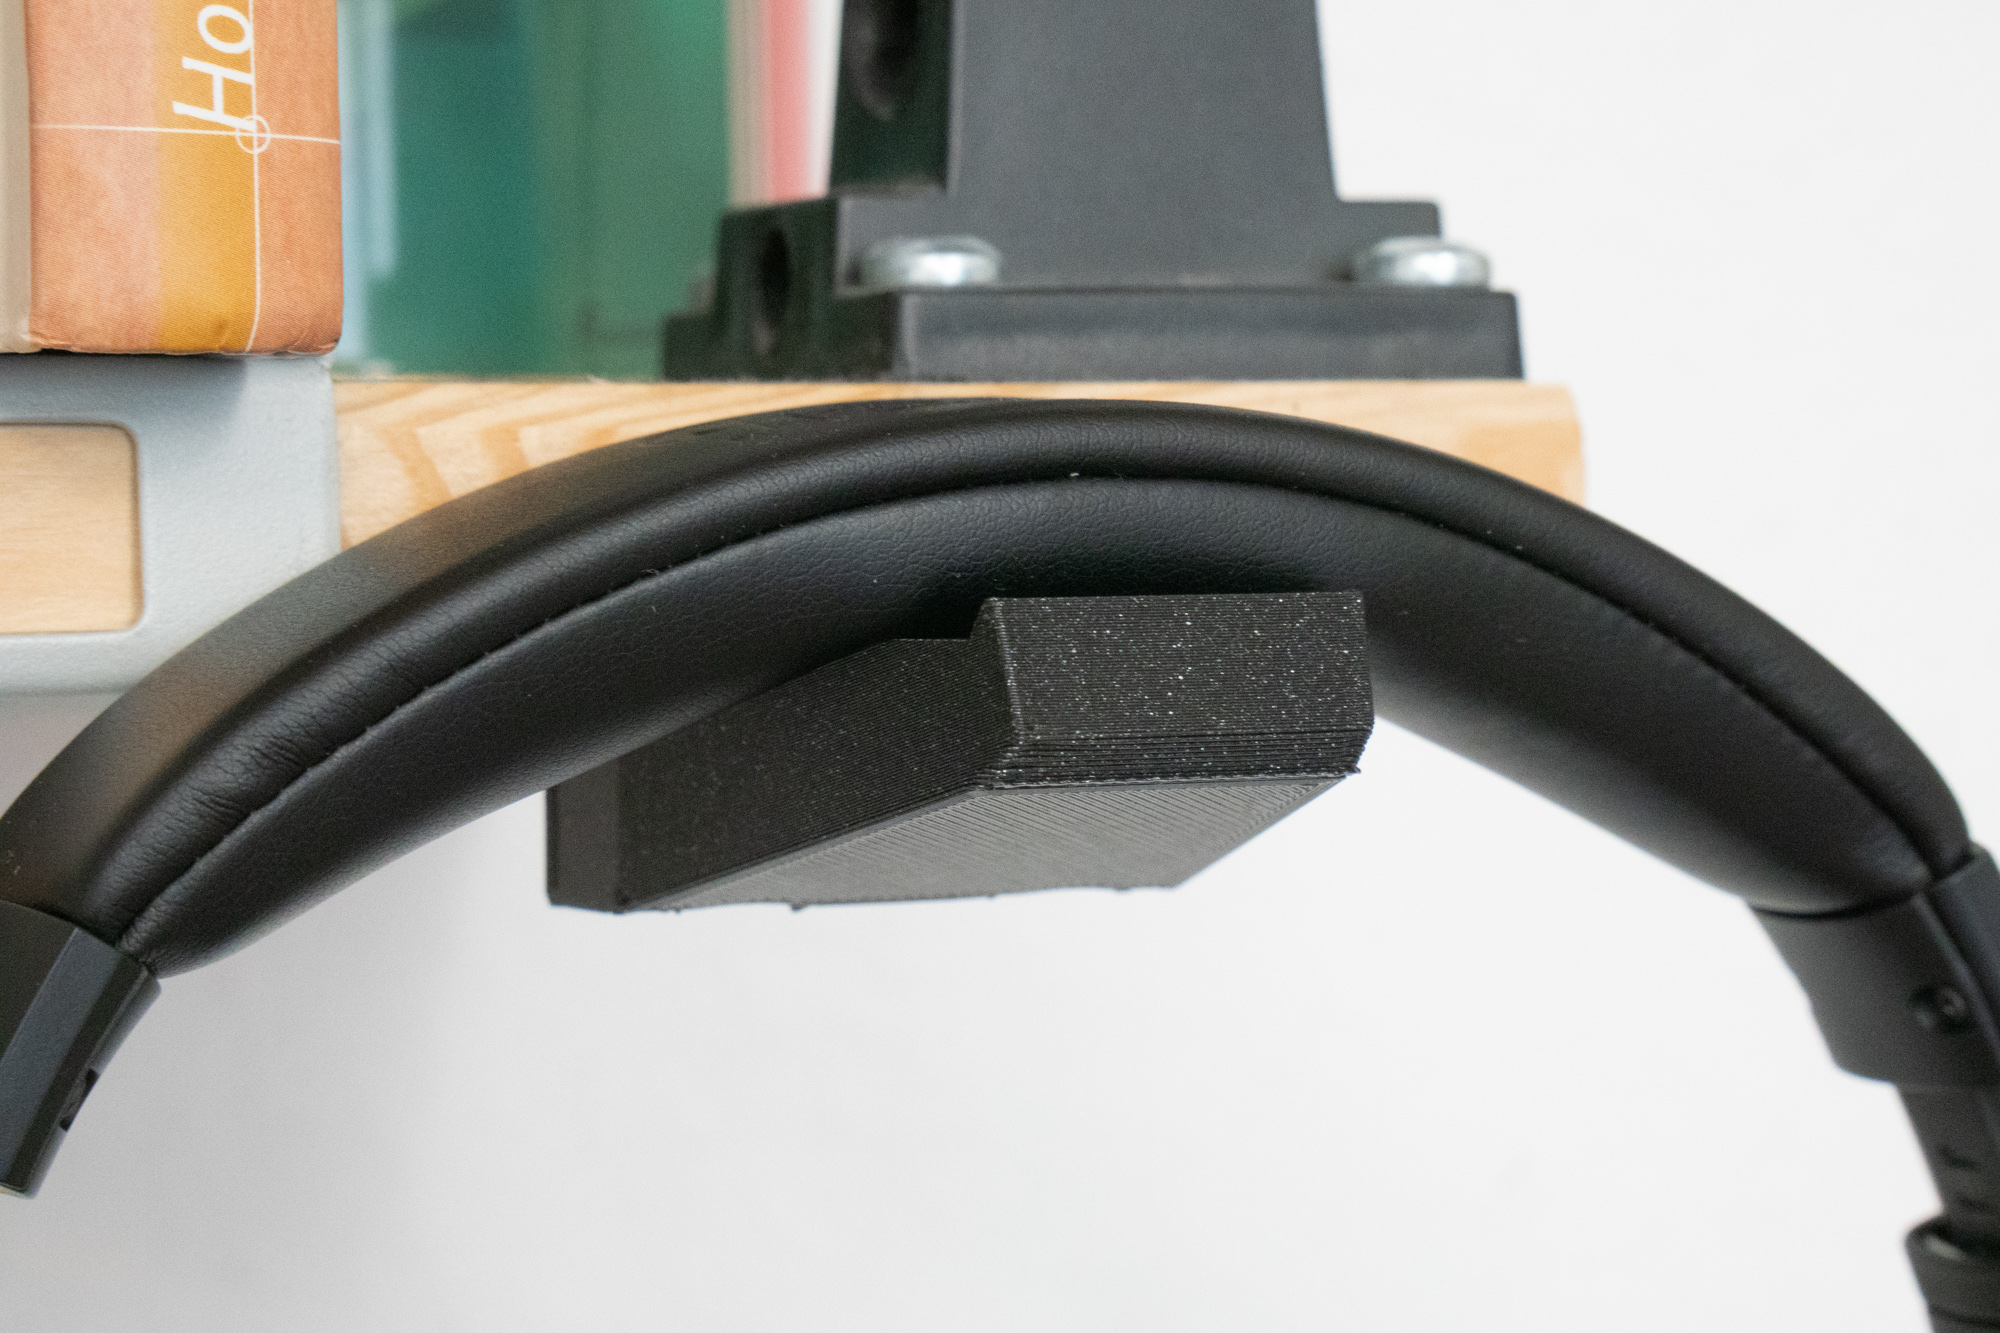
I’m very happy with the end results. My headphones are off the desk and hang nicely on the shelf.