Hello everybody. My name is Philip Becker. Today I show you, how I build my wall-mounted workbench.
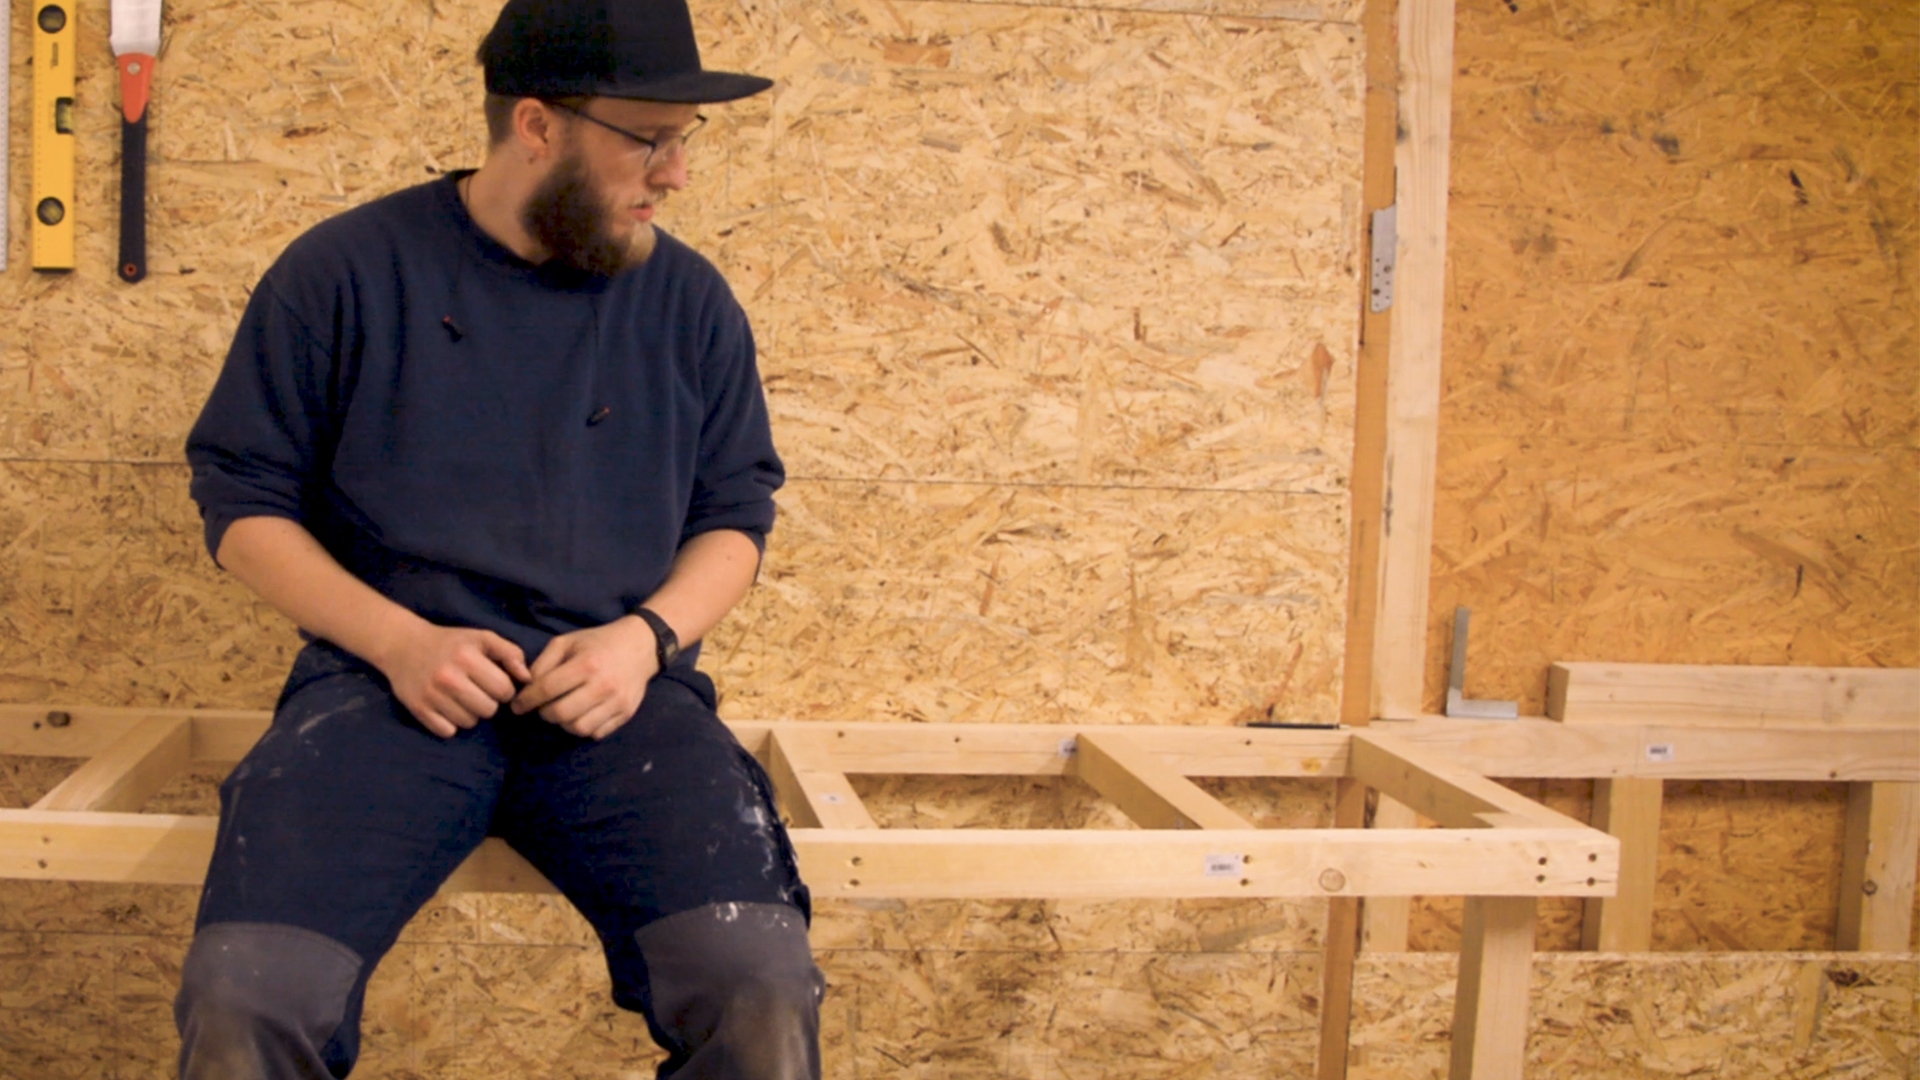
In the last article, I showed you how I prepared the right hand side wall, so I can mount a workbench to it. I used 58×58 mm timber to build the basic structure of the workbench and the first thing was to cut all parts to length using my mitre saw. And yes I reused the temporary workbench that I already used in my apartment. To connect all parts together I used basic butt joints with pretty long screws. Even though I pre-drilled my holes, it would have been better to countersink them too, to prevent the wood from splitting, when driving in the screw head. After that, it was time to attach the frame to the wall and to help with that I got all screws already started in their holes. To reinforce the workbench I attached two legs in the front. As my floor is pretty uneven I came up with the idea to leave the legs longer and attach them first to the floor with angle brackets. After that, I screwed them to the workbench and cut the excess flush with a pull-saw. Then, I could make the first strength test, which went ok, except that I almost fell off my newly build workbench.
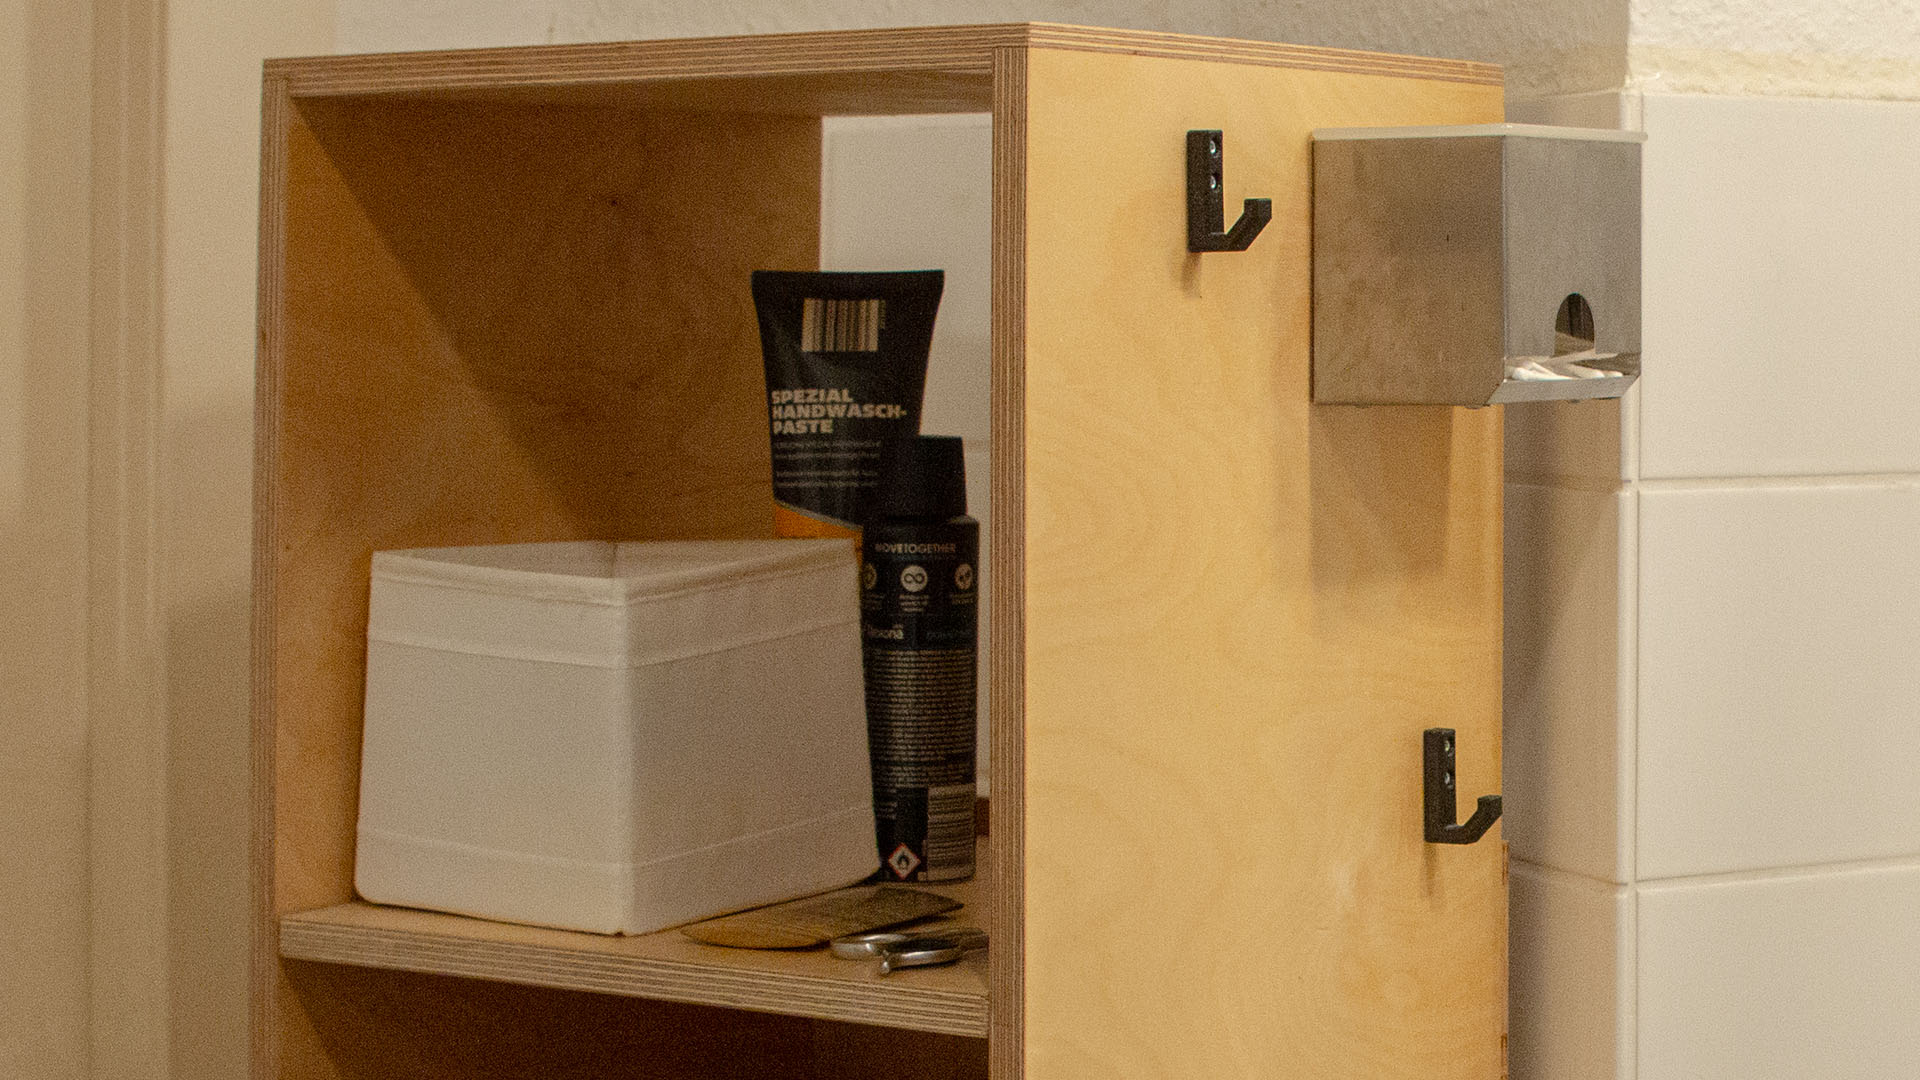
To help align the second part of the workbench, I used 2 big beams to clamp the second frame to them. It also made attaching it to the wall much easier. After that, I cut the worktop to size and attached it with screws. I used one long sheet in the middle to connect the two workbenches together to help with stability. And after I build my big main workbench, I finally build some shelves, so I stop kicking the stuff that has collected underneath the workbench.
This was the second part of my Shop Build Series. The third part is all about my big main workbench.
All Parts in the Shop Build Series:
Part 1: Building the Wall
Part 2: Wall-mounted Workbench
Part 3: My big main Workbench