Before I had my current space, I worked in a spare room in my apartment, which was OK, but it is on the fifth floor, without an elevator. Therefore, I really needed a dedicated workshop to make my life easier. After a lot of research I finally found a place that is affordable and within reach. It was completely empty, so I could start right away.


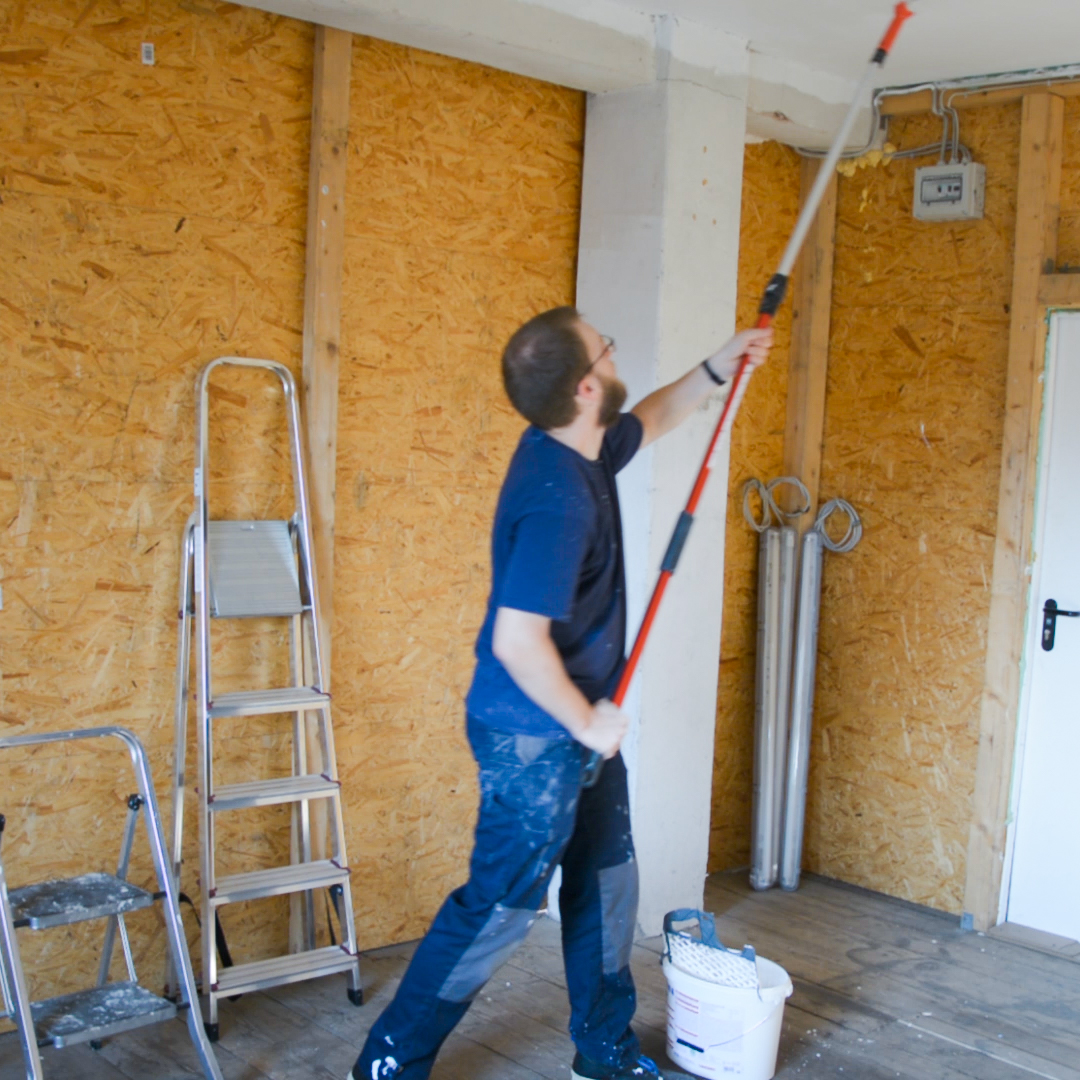
My shop is roughly 25 square meters with a width of 4,5 m and 6 m deep. I used Fusion 360 to plan my layout and get an idea for the space. First, I started with painting. The paint on the walls was ugly and I wanted a nice white background, at least for the concrete walls and the ceiling. I’m glad I did this, as it really made the place look much better, especially on camera. After paint, I did the electrical work, especially the light. I wanted this space to be very bright and as even light, as possible. This will make working in it much more comfortable and let me see my work better. In addition, it helps a lot with shooting video, as I don’t have to move lights around to get a nice, not to dark picture.

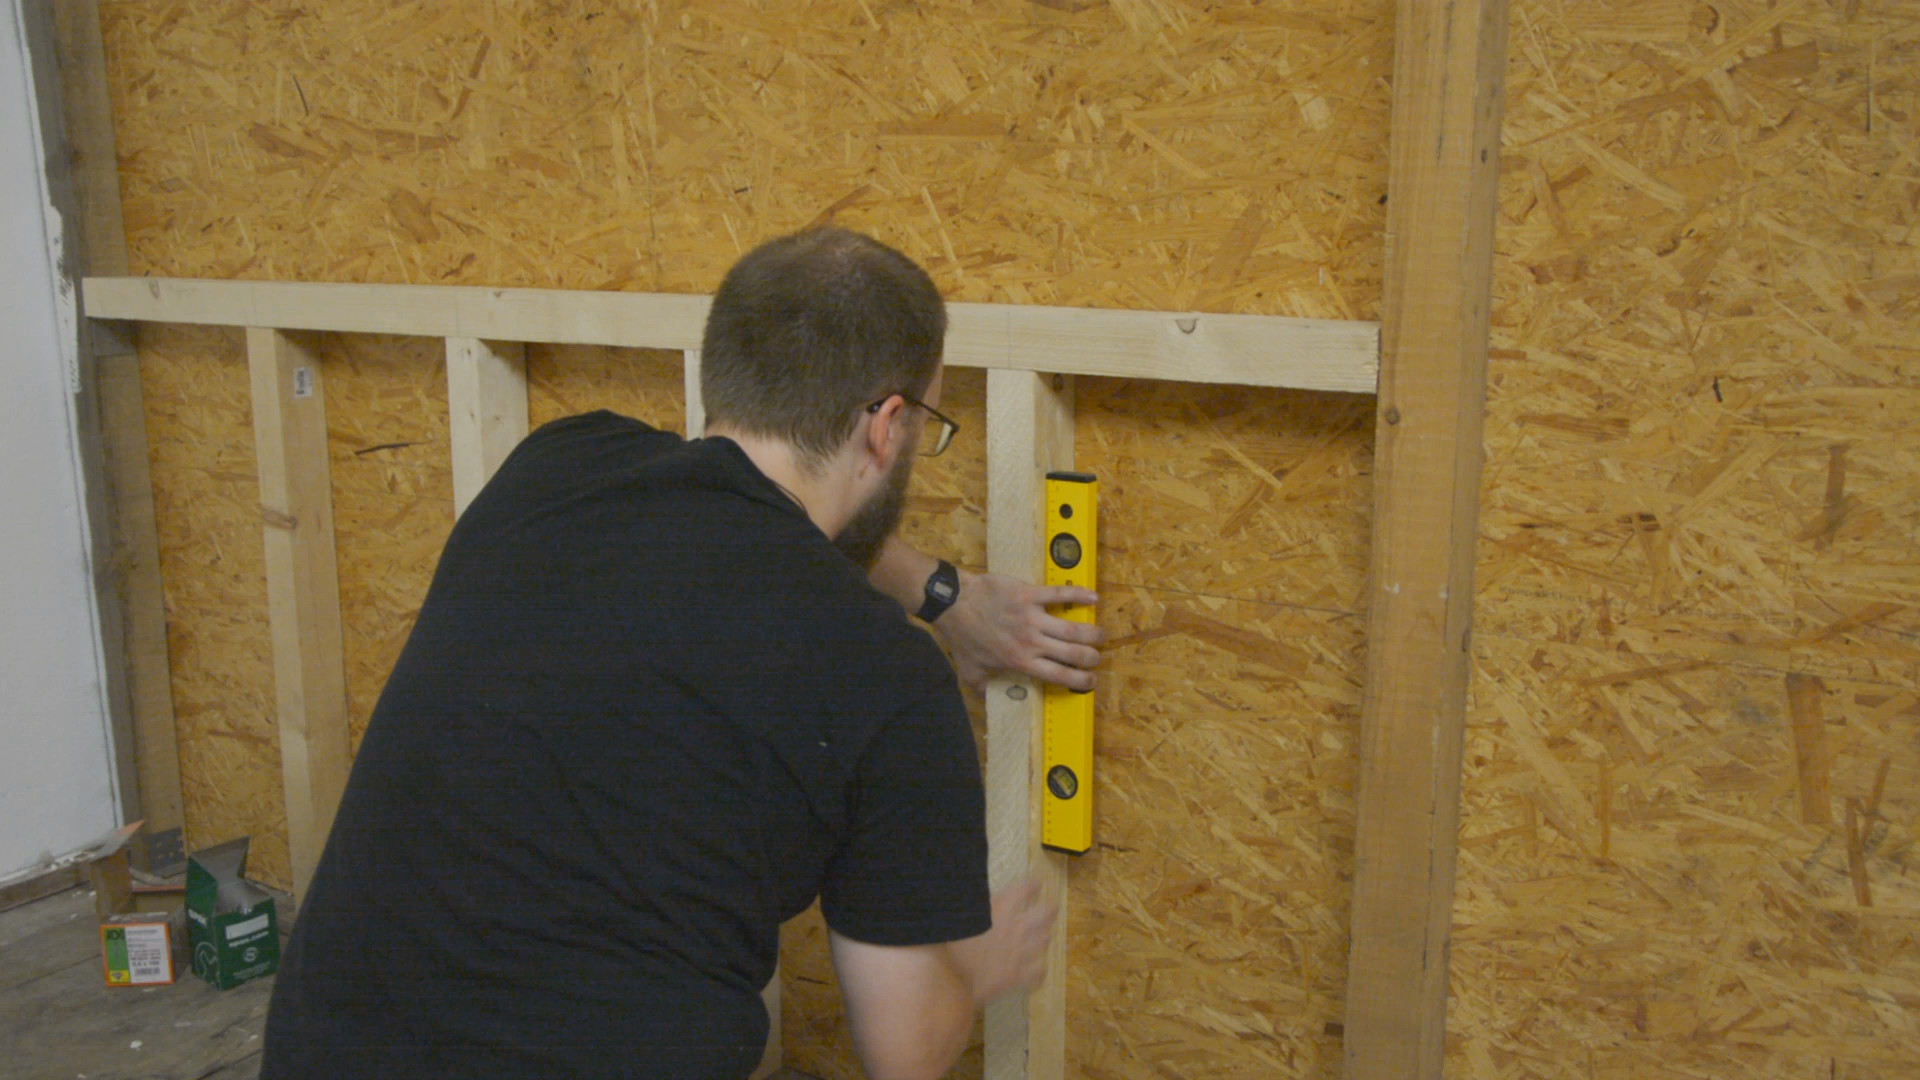
The only thing separating my room from my neighbours is just a single layer of 15 mm OSB. To be able to hang tools and other stuff on the wall and not worrying all the time to poke through, I needed to reinforce it. Especially, as I want to mount my right hand side workbench to it, to get a very sturdy workbench. I started with a crossbeam at the exact height I wanted the workbench to be and took my time to make it level. I spaced the studs 40 cm on centre, which seems to be a somewhat standard measurement here in Europe. After that, I cut the studs to length on my mitre saw. They are all a little different length, as my floor is very uneven. I installed them with some metal brackets to the floor and just a couple of screws through the crossbeam and used a level to make sure, they are vertically right. The upper part was the same process but I used brackets on both ends, as I couldn’t reach above the upper crossbeam.


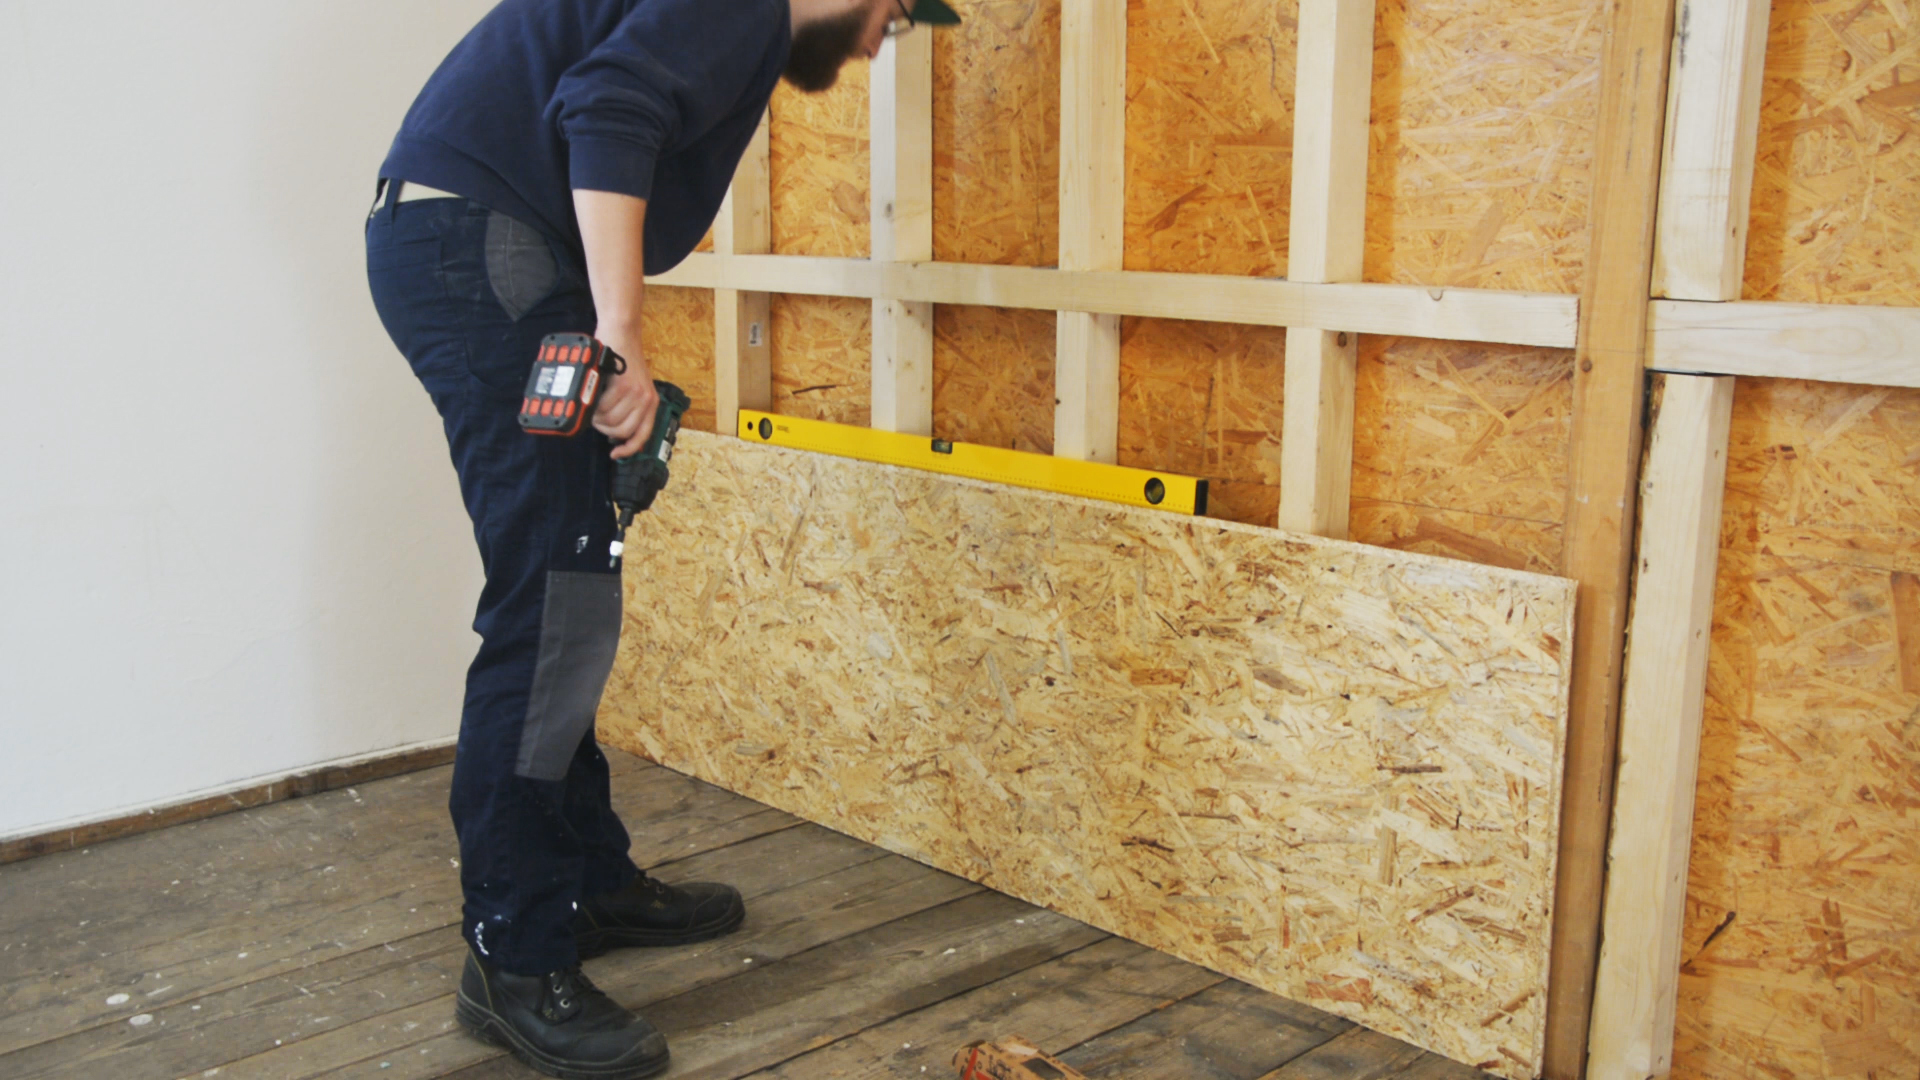
The next day I could start sheeting the wall with 18 mm OSB. I again took my time to make the first sheet level, as it is the reference for the ones above it. To make my life easier installing everything and to know, where the studs are in the future, I marked the edges of the studs on the OSB and transferred it to all sheets as I moved up.


This was the first part of my Shop Build Series. The second part is all about my wall-mounted workbench.
All Parts in the Shop Build Series:
Part 1: Building the Wall
Part 2: Wall-mounted Workbench
Part 3: My big main Workbench