Today I show you, how I build my big main workbench.
Ok, after the right side wall mounted workbench was build, it was time to work on my big main workbench. The basic idea is kind of similar, but I used bigger 78×78 mm timber and half lap joints to make it really sturdy. I cut the half laps with a circular saw and to make my life easier I clamped multiple beams together. After that, I cleaned and fine-tuned everything with a chisel.
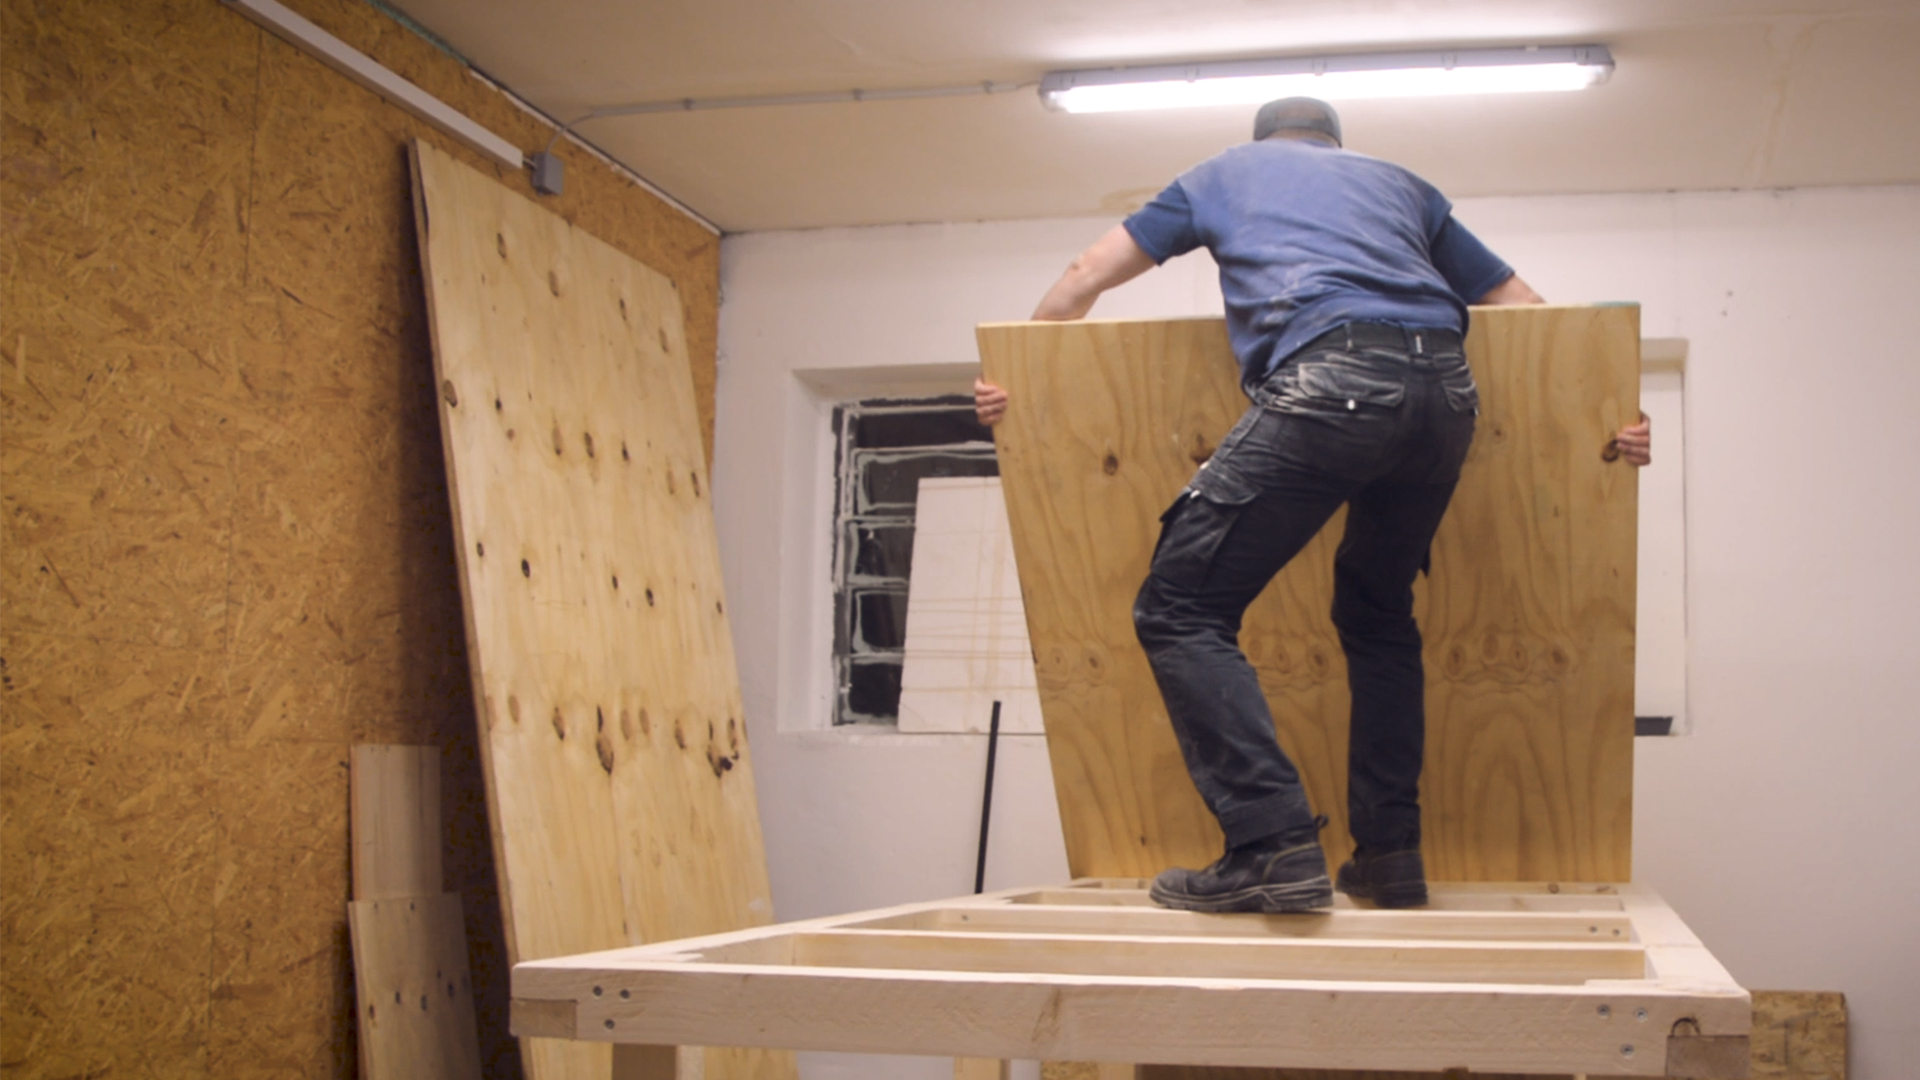
As I don’t have any clamps long enough, I simply used straps. I also used wood glue and screws in the joint, which is probably overkill, but some of the half laps are a little bit too loose, so better safe than sorry. To find the right location of the legs, I positioned the finished frames and attached the legs to the floor with some angle brackets. The frames were moved to the right height and held in place with clamps. As my floor is pretty uneven, it seemed easier to build everything from the ground up and also keep the legs longer and cut them to the right size later. After I made everything level, it was only a matter of screwing the frames to the legs. Then I could cut the legs flush with the top of the frame, I gave everything a quick sanding and attach the worktop, which is, by the way, a full sheet of plywood.
To make the frame for the table saw to sit on, I finally could use the table saw itself, which made much cleaner joints and was much quicker. I attached the frame to the main workbench in a similar way as I did with the wall-mounted workbench.
For the lower shelf, I had do make cut outs for the legs. In addition, I cut it up into multiple parts, to be able to move it into the right spot.
This was the third and final part of my Shop Build Series.
All Parts in the Shop Build Series:
Part 1: Building the Wall
Part 2: Wall-mounted Workbench
Part 3: My big main Workbench